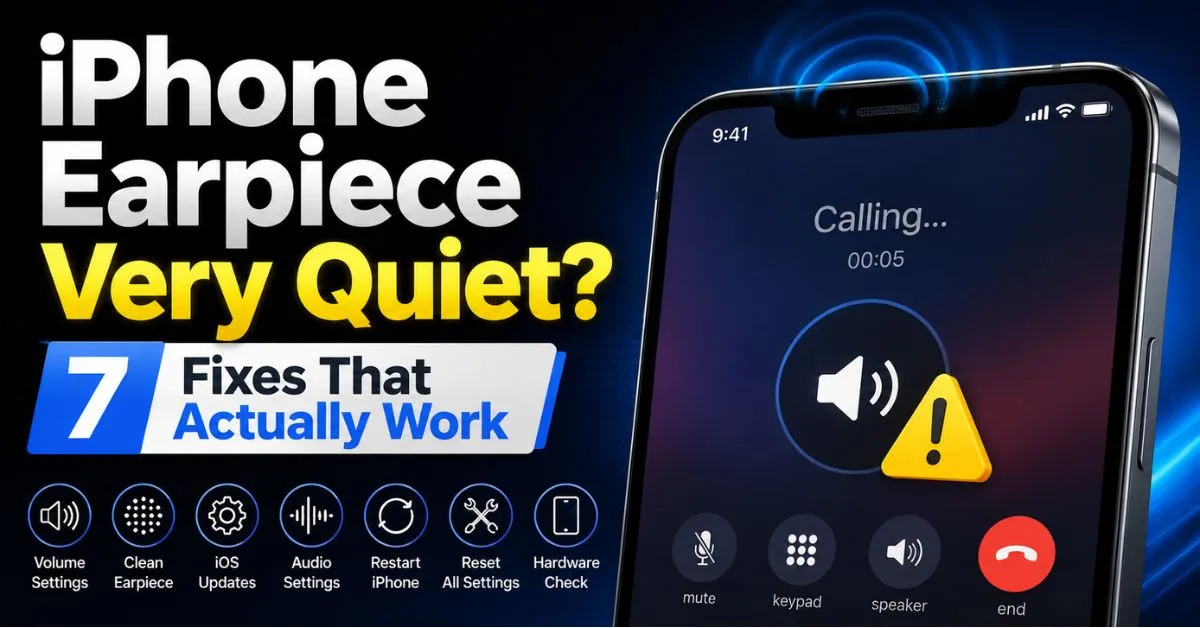
iPhone Earpiece Very Quiet? 7 Fixes That Actually Work.I was sitting in a crowded Philz Coffee last Tuesday, trying to catch a critical call from my contractor. My iPhone 14 Pro was pushed so hard against my ear it was practically leaving a dent in my skull. I kept hammering the volume-up button, but the voice on the other end sounded like it was coming from the bottom of a swimming pool.
If you’re reading this, you’ve likely been there. You check the volume bar—it’s maxed out. You toggle the speakerphone, and that works perfectly, but the moment you go back to the earpiece (the receiver module), the audio drops to a whisper. It’s infuriating, especially when you consider these devices cost upwards of a thousand dollars.
Most “tech tips” online will tell you to just “restart your phone.” I’ve spent a decade tearing down iPhones and writing about iOS quirks, and I can tell you: a restart rarely fixes a quiet earpiece. The problem is almost always physical, or hidden deep within the Accessibility settings. Let’s get into the weeds of what is actually happening to your hardware.
Real-World Scenarios: When You Can’t Hear a Word
We often mistake “low volume” for “muffled audio,” but they are two different beasts. If the sound is clear but faint, it might be software. If the sound is distorted, crunchy, or feels like it’s being filtered through a wool blanket, you’re looking at a physical obstruction.
The transducer inside your iPhone earpiece is a tiny, delicate component. It vibrates a diaphragm to create sound waves. These waves have to pass through a microscopic acoustic mesh designed to keep water and dust out. The irony? That very mesh is a magnet for the worst kind of debris: skin oils, makeup, and earwax.
When you’re in a loud environment, your brain struggles to isolate that muffled frequency. You aren’t just fighting ambient noise; you’re fighting a clogged “pipe.”
The ‘Hidden’ Basics You Likely Missed
Before we start scrubbing your phone with a toothbrush, we need to rule out the “facepalm” fixes. I’ve seen people spend $80 at a repair shop only to realize their screen protector was the culprit.
The Case and Screen Protector Check
Take a close look at the top edge of your iPhone. On models from the iPhone 13 onwards, the earpiece isn’t a hole in the glass; it’s a tiny, razor-thin slit at the very top where the glass meets the frame. Many third-party tempered glass protectors aren’t cut precisely. Over time, these protectors can “creep” upward, or the adhesive can bleed into that slit.

My Test: Remove your case entirely. Does the volume improve? If yes, your case was slightly overlapping the top edge. If not, let’s move on.
Bluetooth Hijacking
I can’t count how many times I thought my earpiece was dead, only to realize my AirPods were sitting in my backpack, still connected because the lid popped open. Your iPhone might be routing audio to a “phantom” device. Swipe down to the Control Center, tap the AirPlay icon (the circles with the triangle), and ensure “iPhone” is the selected output.
The Voice Memos Diagnostic
Is it a hardware issue or just a bad cellular connection? Open the Voice Memos app. Record yourself speaking for five seconds. Play it back, but make sure you tap the speaker icon in the app so it plays through the earpiece (not the loud bottom speaker). If the recording sounds crystal clear and loud, your hardware is fine, and your issue is likely your carrier’s Noise Cancellation or a poor LTE/5G signal.
Hands-On Guide: Deep Cleaning the Speaker Grille
This is where most people go wrong. I have seen countless iPhones brought into shops with punctured earpieces because the owner tried to “dig out” the dirt with a sewing needle. Do not do this. You will pierce the delicate diaphragm, and then you’ll be paying for a full screen replacement.
The Author’s Tested Cleaning Kit
In my experience, the best tools are the simplest ones:
- A soft-bristled toothbrush: (Ideally a new one, or one cleaned with hot water).
- 99% Isopropyl Alcohol: Avoid 70% if possible; the extra 30% is water, which we don’t want near electronics.
- Blue-Tack or Cleaning Putty: This is the “secret sauce.”
The ‘Toothbrush Technique’
Hold your iPhone with the earpiece facing the floor. This is crucial—gravity is your friend here. We want the debris to fall out, not further in.
Dampen (do not soak) the toothbrush with Isopropyl Alcohol. Gently scrub the earpiece slit in a circular motion. The alcohol helps break down the skin oils and wax that act as the “glue” holding the dust in place. After a few seconds, use a dry part of the brush to flick the loosened debris away.
The Blue-Tack Method (My Personal Favorite)
Take a small pea-sized amount of Blue-Tack. Warm it up in your fingers until it’s soft. Press it firmly—but not violently—against the earpiece mesh. Leave it for two seconds, then pull it away quickly.
When I first tried this on an iPhone 11 that was virtually silent, the Blue-Tack came away with a perfect “imprint” of the mesh, covered in tiny brown specks. That’s the gunk that was blocking the sound. Repeat this 3-4 times with a fresh surface of the putty.
Pro Tip: The Vacuum Hack If the toothbrush and putty don’t work, I’ve had success using a vacuum cleaner with a hose attachment. Create a “seal” around the earpiece with your fingers and let the vacuum pull the air through the mesh. Warning: Never use compressed air “dusters.” They blast air into the phone, which can permanently damage the transducer or push debris so deep it can never be removed.
Software Tweaks: Calibrating for Maximum Clarity
If the mesh looks pristine but the volume is still low, iOS might be the bottleneck. There are a few obscure settings that can throttle your earpiece volume.
Adjusting Audio/Visual Balance
Navigate to Settings > Accessibility > Audio/Visual. Look at the “Balance” slider. Sometimes, through a software glitch or an accidental swipe, this slider moves to the left or right. Even though the earpiece is mono, a skewed balance can affect the perceived gain. Ensure it’s dead center.
The ‘Hearing Aid Compatibility’ Trick
This is a weird one, but it works. Go to Settings > Accessibility > Hearing Devices. Toggle Hearing Aid Compatibility to ON.
While this is intended for people with hearing aids, it often changes the frequency profile of the earpiece and boosts the mid-range gain. Many users (myself included) have found that this “forces” the earpiece to output at a slightly higher decibel level during standard calls.
Noise Cancellation Toggle
On older iPhones (iPhone 12 and earlier), there is a setting under Audio/Visual called “Phone Noise Cancellation.” This feature uses the rear microphone to cancel out ambient noise. If that mic is dirty or the software is miscalculating, it can accidentally cancel out the person you’re talking to! Try toggling this OFF to see if your clarity returns.
When It’s a Hardware Failure
Sometimes, no amount of cleaning or settings-toggling will save a dying receiver module.
The iPhone 12 “No Sound” Recall
If you own an iPhone 12 or iPhone 12 Pro and your earpiece has gone completely silent, you might be eligible for a free repair. Apple acknowledged a manufacturing defect where the receiver module fails. Check Apple’s Apple Support website for the “Service Program for iPhone 12 and iPhone 12 Pro No Sound Issues.” If your phone was manufactured between October 2020 and April 2021, they’ll fix it for free, even out of warranty.
Identifying a Blown Speaker
If the audio sounds “crackly” or “fuzzy” at high volumes, the coil inside the transducer is likely damaged. This usually happens if the phone took a hard drop or was exposed to significant moisture.
At this stage, you have two choices:
- The Genius Bar: If you have AppleCare+, it’s a cheap fix. Without it, Apple usually replaces the entire screen assembly because the earpiece is fused to it on many models. It’s expensive.
- Local Repair Shop: A reputable independent shop can often replace just the earpiece module. However, be warned: on newer iPhones, replacing the earpiece assembly involves transferring the FaceID sensors. If the technician isn’t skilled, you might lose FaceID functionality.
Experience Note: Mistakes I’ve Made
Early in my tech journey, I tried using a hairdryer to “melt” the wax out of an iPhone earpiece. Don’t do this. The heat damaged the adhesive holding the screen together and actually caused the wax to seep deeper into the acoustic mesh, hardening it like cement. Stick to the alcohol and the brush. It’s slow, but it’s safe.
Frequently Asked Questions
Q: Can I use a needle to clean the holes if I’m very careful? A: I strongly advise against it. The earpiece mesh on modern iPhones is incredibly thin. A needle doesn’t just “push” dirt; it tends to push the dirt through the mesh and into the speaker chamber, or worse, it punctures the diaphragm. Once that mesh is pierced, your phone loses its water resistance.
Q: Why is my earpiece quiet only during normal calls but loud on WhatsApp? A: This points to a software or carrier issue. Traditional cellular calls use a different compression codec than VoIP apps like WhatsApp or FaceTime. If WhatsApp sounds fine, your hardware is healthy. Try resetting your network settings (Settings > General > Transfer or Reset iPhone > Reset > Reset Network Settings).
Q: Does the “Water Eject” sound actually work for cleaning? A: Those “Water Eject” shortcuts use low-frequency tones to vibrate the speaker and push out water. They are great for the bottom speakers, but they are significantly less effective for the earpiece because the earpiece doesn’t move as much air. It won’t hurt to try, but it’s unlikely to dislodge earwax or skin oils.
Q: I cleaned it and it’s still quiet. Could it be a software bug? A: Yes. Occasionally, the iOS “Reset All Settings” (not a factory reset, your data stays) can fix weird audio routing bugs. It’s a pain because it resets your wallpaper and Wi-Fi passwords, but it’s a valid last-ditch effort before spending money on a repair.
Q: How often should I clean the earpiece? A: If you use your phone against your face frequently, a quick dry-brushing once a month prevents the “wax-plug” effect. If you’re a heavy makeup user, you may need to do this more often, as powders and foundations are the leading cause of clogged earpiece meshes.