After 10+ years of cracking open Android devices, I can tell you that 80% of charging problems are not hardware failures. They are usually simple blocks in the “handshake” between your charger and your phone’s software. Before you go spending $800 on a new device or $80 on a repair, let’s walk through my “Shop Diagnostic Flow” to get your phone back to 100% in under five minutes.
- 1. Step 1: The “Rule of Three” Physical Audit
- 2. 1. The Wall Adapter (The Brick)
- 3. 2. The Cable (The Usual Suspect)
- 4. 3. The Power Source
- 5. Step 2: The “Pocket Lint” Factor (The Deep Clean)
- 6. How to clean it safely:
- 7. Step 3: Software vs. Hardware: Is Your OS the Culprit?
- 8. Boot into Safe Mode
- 9. The “System UI” Glitch and Cache
- 10. Calibration
- 11. Step 4: Moisture and Humidity: The Silent Killers
- 12. Why the “Rice Trick” is a Myth
- 13. Step 5: Advanced Troubleshooting (The “Over 5 Minutes” Stuff)
- 14. Signs of a Failing Charging IC
- 15. The Swollen Battery “Screen Lift”
- 16. Common Pitfalls: What NOT to Do
- 17. Summary: Your 5-Minute Checklist
- 18. When to call a pro?
Just yesterday, a customer walked into my repair shop holding a high-end Samsung like it was a piece of radioactive waste. “It’s dead,” he told me, looking defeated. “I’ve tried three different chargers. I think I need a new battery or maybe a whole new phone.”
I took one look at his USB Type-C port, grabbed a thin wooden toothpick and a flashlight, and pulled out a compressed hunk of blue denim lint the size of a grain of rice. Total repair time? About 45 seconds. Total cost? Zero dollars.
alsoreade : Android Battery Draining Too Fast, Android Phone Stuck on Boot Screen, Android Screen Not Responding, Android Phone Not Charging Android Microphone Not Working
Step 1: The “Rule of Three” Physical Audit
When an android phone not charging fix is needed, we always start with the easiest variables. In the industry, we call this the “Rule of Three”: The Outlet, The Brick, and The Cable.
1. The Wall Adapter (The Brick)
Most people assume their wall adapter is immortal. It isn’t. Modern Fast Charging Protocols (like Qualcomm Quick Charge or Power Delivery (PD)) require complex circuitry inside that little cube. If you’re seeing an android charging slowly fix search in your history, your brick might have lost its ability to negotiate high amperage.
- The Fix: Plug your cable into a different source—a laptop USB port, a power bank, or a different wall unit. If it starts charging (even slowly), your brick is fried.
2. The Cable (The Usual Suspect)
Cables take a lot of abuse. We bend them, step on them, and toss them in bags. If you’re facing a fix android cable charging issue, look for fraying near the ends. Even if it looks fine, the internal copper wiring might be snapped.
- The Test: Try a different cable. If you find your android charger works on other phones but not mine, the cable’s USB Type-C pins might be slightly out of alignment for your specific port’s tolerances.
3. The Power Source
I know it sounds silly, but I’ve seen people bring in “broken” phones that were just plugged into a switched-off wall outlet.

🔗 Related Android Fixes
- Fix Android Phone Not Showing Caller ID & Unknown Numbers
- Fix ‘App Not Installed’ Error: 7 Ways to Resolve APK Failures
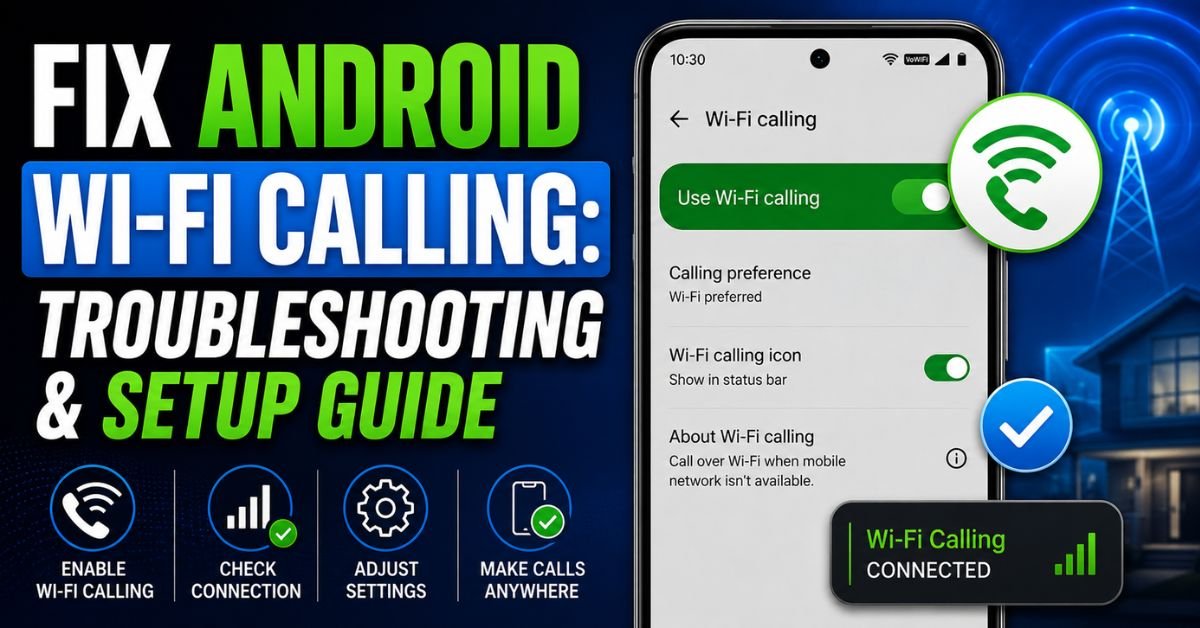
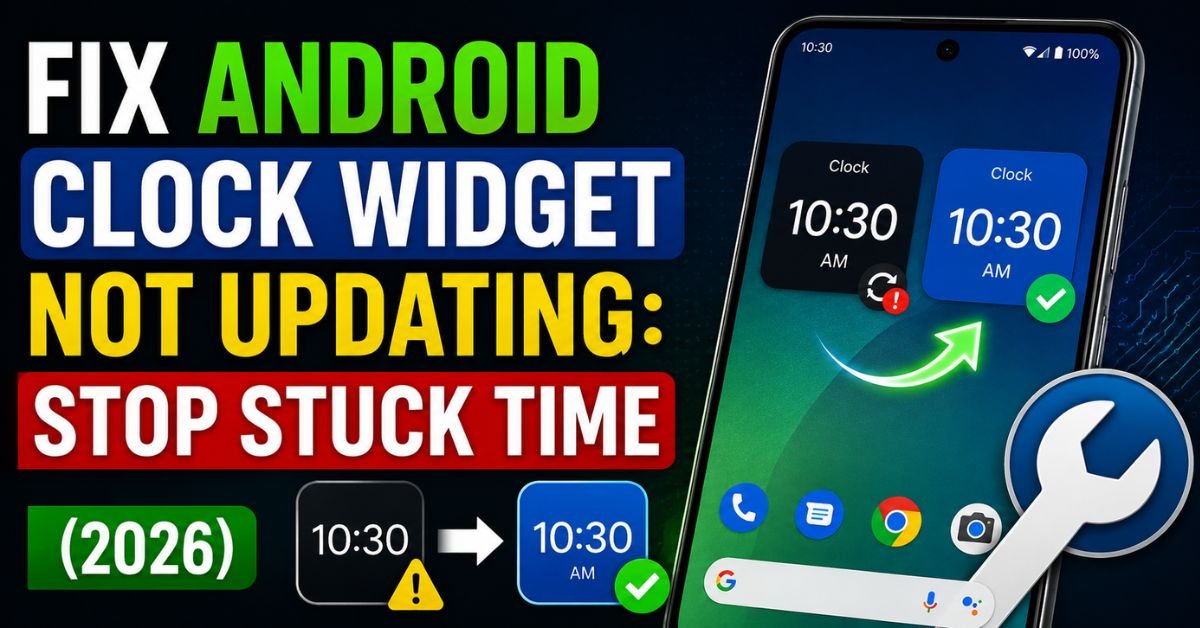
- Fix Android Clock Widget Not Updating: Stop Stuck Time (2026)
- Fix Dead Pixels on Android: Diagnose & Repair Display Spots
- Fix: Android Phone Not Detecting Charger (USB-C Solutions)
- Android Password Not Working? Fix Lock Screen & Login Issues
- The Test: Plug a lamp into the same outlet. If the lamp doesn’t light up, you don’t have a phone problem; you have a tripped breaker.
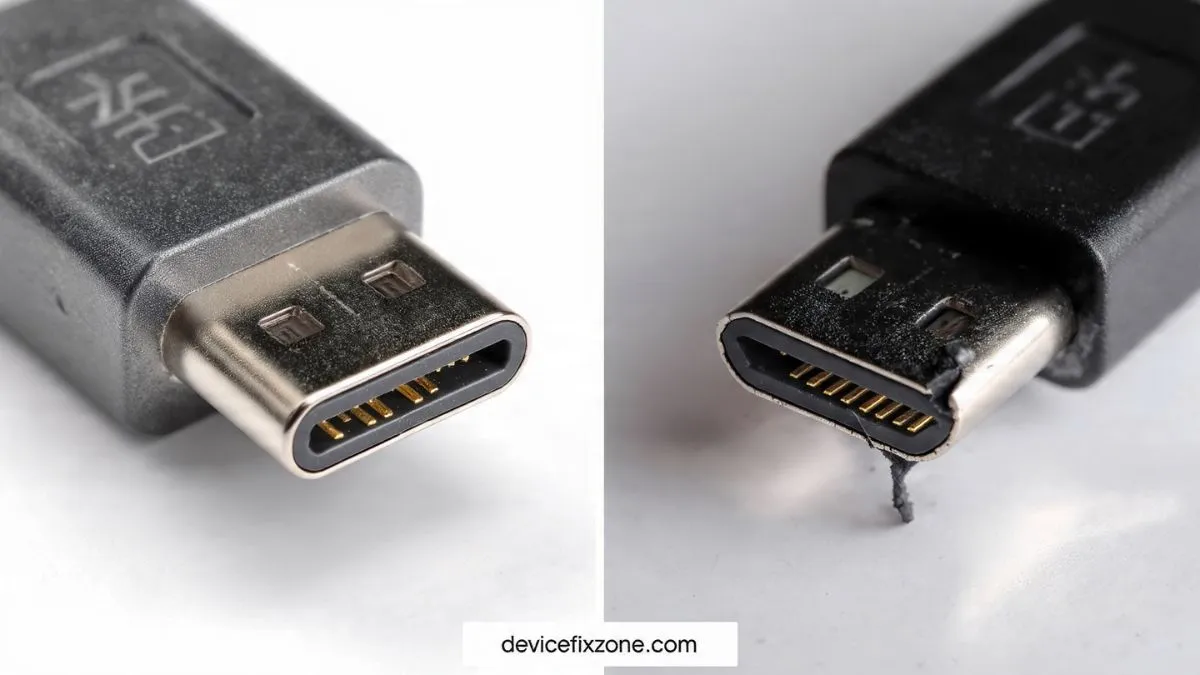
Step 2: The “Pocket Lint” Factor (The Deep Clean)
If your phone plugged in but not charging android issue persists, we need to look inside the “mouth” of the phone. This is where most android charging port dust problems hide.
Inside your pocket, your phone acts like a vacuum. Every time you slide it in, lint gets pushed into the port. When you plug in your charger, you compress that lint into a hard “cake.” Eventually, the cable can’t make a full connection, leading to a fix loose charging port android situation or the dreaded android charger connected but battery not increasing.
Also Reade : Complete Android Fix Guide: Every Android Problem Solved (2026)
How to clean it safely:
- Safety First: Power down your device. Never use metal (like a needle or paperclip) as you can short out the pins and kill the Charging IC on the motherboard.
- The Tool: Use a thin wooden toothpick or a plastic dental pick.
- The Technique: Gently dig around the center “tongue” of the USB Type-C port. You’ll be shocked at what comes out.
- The Finish: Use a can of compressed air to blow out any remaining micro-debris.
If you find that your phone only charges at a certain angle, this is almost always due to debris preventing the cable from clicking into place. A clean port should allow the cable to “snap” in firmly.
Step 3: Software vs. Hardware: Is Your OS the Culprit?
Sometimes the hardware is fine, but the software is having a mid-life crisis. The android system ui charging bug can sometimes make the phone think it isn’t connected to power when it actually is.
Boot into Safe Mode
Third-party apps (especially those “Battery Saver” apps which are ironically terrible) can interfere with the charging process.

- Hold the power button, then long-press “Power Off” until the Safe Mode prompt appears.
- If the phone charges fine in Safe Mode, you have a rogue app. Uninstall recent apps one by one.
The “System UI” Glitch and Cache
If you’ve noticed your android phone not charging after update, the system cache might be corrupted.
- Fix: Wipe the cache partition (this varies by model, but usually involves holding Volume Up + Power during boot). This won’t delete your photos, but it resets how the OS talks to the hardware.
Calibration
Is your battery stuck at a certain percentage android? Your phone might have lost its “sense of self.”
- The Calibration Fix: Let your phone drain completely until it dies. Try to turn it on until it won’t even show the logo. Then, charge it to 100% without interruption while it’s powered off. This resets the android battery health check parameters.
Step 4: Moisture and Humidity: The Silent Killers
Many modern Androids (looking at you, Samsung) are sensitive to moisture. If you see the fix android moisture detected charging error, don’t panic. You don’t necessarily have to have dropped it in a pool; high humidity or a sweaty pocket can trigger it.
Why the “Rice Trick” is a Myth
As a technician, I hate rice. Rice doesn’t pull moisture out of a sealed phone; it just gets starch and dust stuck in your ports.
- What to do instead: Use a hairdryer on the cool setting for a few minutes or place the phone in front of a fan.
- The “False Positive” Reset: If the port is bone dry but the error won’t go away, go to Settings > Apps > Show System Apps > USBSettings > Storage > Clear Data. This often clears the “ghost” moisture warning.
")
Step 5: Advanced Troubleshooting (The “Over 5 Minutes” Stuff)
If you’ve tried all the above and you’re still looking at a dead android phone not charging, we’re moving into hardware territory.
Signs of a Failing Charging IC
The Charging IC (Integrated Circuit) is the brain on the motherboard that manages the Voltage and flow of electricity to the Lithium-ion battery.
- Symptoms: The phone gets extremely hot near the motherboard (usually near the camera) when plugged in, or the android phone charging only when switched off.
- Diagnosis: If the phone charges while off but stops the second you turn it on, the IC is likely struggling to manage the load.
The Swollen Battery “Screen Lift”
Look at your phone from the side. Is the screen or the back glass peeling away from the frame? This is a sign of a swollen battery. If this is happening, stop charging immediately. A swollen Lithium-ion battery is a fire hazard. This often causes an android battery not detected fix situation because the swelling has pulled the android battery connector loose.
Common Pitfalls: What NOT to Do
In my decade at the bench, I’ve seen people destroy perfectly fixable phones by following bad advice online.
- Don’t use “Gas Station” Cables: These often lack the proper resistors to protect your phone from voltage spikes. They can fry your android power ic in seconds.
- Don’t wiggle the cord aggressively: If it’s a fix android charging pin damaged issue, wiggling it will only snap the traces off the motherboard, turning a $50 port repair into a $300 motherboard replacement.
- Don’t ignore the “Temperature Too Low” error: If you see fix battery temperature too low charging issue, it’s usually a broken thermistor (a tiny heat sensor) on the charging board. This is a common samsung phone not charging fix that requires a part replacement, not a software hack.
Summary: Your 5-Minute Checklist
Before you give up, run through this list one last time:
- Flip the cable: Sometimes one side of a USB Type-C cable is worn while the other is fine.
- Clean the port: Use a toothpick. No, seriously, do it again. Look deeper.
- Check the plug: Is it halfway out of the wall?
- Restart: A simple reboot clears android charging software bugs more often than you’d think.
- Laptop Test: See if it’s an android phone not charging from laptop usb issue. If it charges on the wall but not the laptop, your laptop port might not be outputting enough amperage.
When to call a pro?
If you’ve cleaned the port, changed the cable, and tried a factory reset, and you’re still seeing android charging connected disconnected repeatedly, it’s likely a hardware failure. This could be the android charging flex cable or the android charging socket itself. Most shops can swap a charging port for $50-$100, which is a lot cheaper than a new flagship phone.
Repair Expert Tip: If you’re ever in a pinch and your phone won’t charge via the port, try android wireless charging. If wireless charging works, your battery and Charging IC are likely fine, confirming that the problem is strictly with your physical USB port.
Charging issues are frustrating, but they aren’t always a death sentence for your tech. Take five minutes, be gentle with those pins, and you’ll likely have your “dead” phone back to life before your next coffee break.