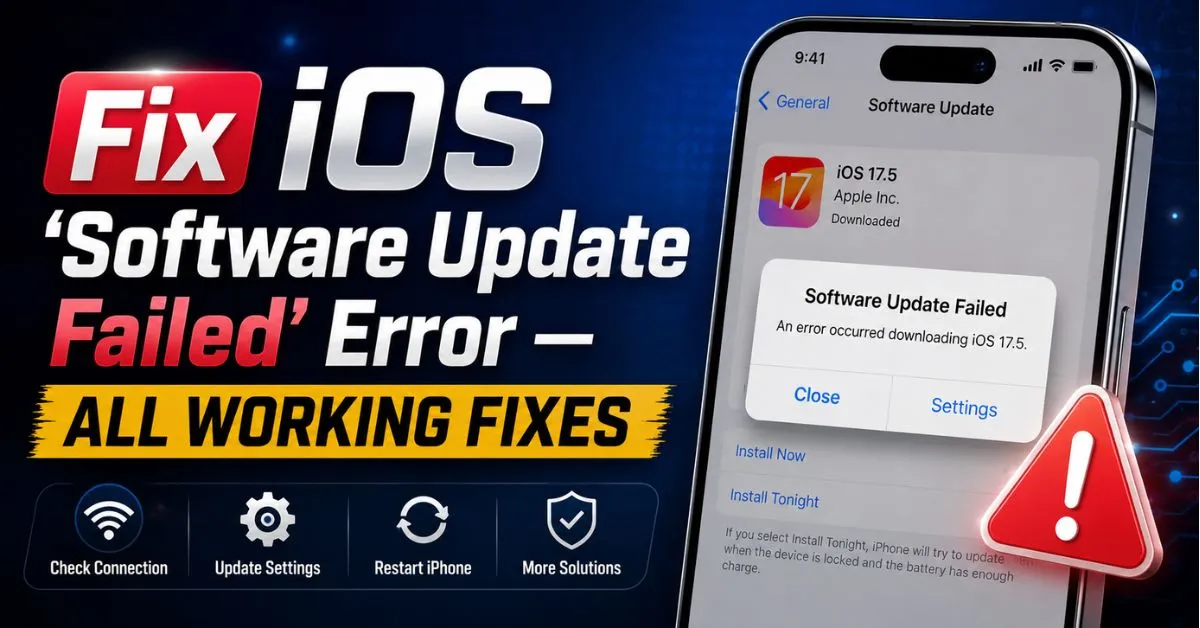
Fix iOS ‘Software Update Failed’ Error — All Working Fixes There’s a specific kind of sinking feeling you get when a new iOS version drops. You’ve cleared your evening, you’ve backed up your photos, and you’re ready for those new features—only for a pop-up to appear: “Software Update Failed. An error occurred downloading iOS.”
I’ve seen this screen more times than I care to count. During my years helping people at the Genius Bar, and later as a dedicated Apple power user, I’ve realized that this error is rarely a sign of a “broken” iPhone. Usually, it’s just a digital traffic jam or a simple misunderstanding between your device and Apple’s servers.
Whether you’re trying to jump onto the latest iOS 18 build or just trying to get a security patch sorted, I’m going to walk you through exactly how I fix this. No fluff, just the steps that actually work when the “Try Again” button keeps failing you.
Why the “Software Update Failed” Error Happens
Before we dive into the fixes, let’s talk about why your iPhone is acting up. It isn’t just being stubborn.
- The Launch Day Server Crush: When Apple releases a major update (like iOS 17 or 18), millions of iPhones ping Apple’s servers simultaneously. Sometimes, the server just gives up and hangs up on you.
- OTA Update Handshake Errors: Over-The-Air (OTA) updates require a perfect “handshake” between your phone and the server. If your Wi-Fi flickers for even a micro-second, the handshake breaks.
- The “Ghost” Update File: Sometimes a partial download gets corrupted and sits in your storage. Your iPhone tries to resume it, realizes the file is “garbage,” and throws an error.
- The Space Paradox: Your phone might say you need 5GB, but it actually needs closer to 10GB or 12GB to unpack the firmware and install it.
What worked for me: I remember the iOS 17 launch day vividly. I tried updating five times and got the error every single time. The fix? I stopped trying for three hours. The servers were simply overloaded. Sometimes, the best tool in your kit is patience.
Immediate Quick Fixes (The Low-Hanging Fruit)
Don’t jump into a full factory reset yet. Start here. These are the fixes that take 30 seconds but solve about 40% of the cases I deal with.
1. Check Apple’s System Status
Before blaming your router, check if Apple is having a bad day. Apple maintains a System Status page that shows if their “App Store” or “Software Update” services are green. If they are yellow or red, go grab a coffee. There is nothing you can do until Apple fixes things on their end.
2. The 24-Hour Rule
If it’s the first 24 hours of a major iOS release, the “Software Update Failed” error is almost certainly a server capacity issue. If your phone isn’t critical for work, wait a day. The download speeds will be 10x faster, and the error will likely vanish.
3. Toggling Airplane Mode
This sounds too simple to work, but it forces a fresh handshake with your local Wi-Fi and Apple’s update servers.
- Swipe down for Control Center.
- Enable Airplane Mode for 15 seconds.
- Disable it and try the update again immediately.
The Storage Solution: Making Room for the Update
This is where most users get tripped up. Your iPhone tells you the update is 3.5GB. You have 4GB free. You think, “Great, I’m good to go!”
You are not good to go.
An iOS update is like a compressed suitcase. To get the clothes out, you need to spread them out on the bed. Your iPhone needs room to download the update, room to unpack it, and room to move files around.
4. Delete the “Ghost” Update File
If your download failed halfway through, there’s likely a corrupted file sitting in your storage. This is the #1 reason updates keep failing even after you’ve cleared space.
- Go to Settings > General > iPhone Storage.
- Scroll down the list of apps until you see “iOS [Version Number]”.
- Tap it and select Delete Update.
- Go back to the Software Update menu and start over. This forces a clean download.
5. Offload Large Apps Temporarily
I always tell people: don’t delete your precious photos to make room. Instead, Offload your biggest apps (like Genshin Impact or Netflix).
- Go to iPhone Storage.
- Select a large app.
- Tap Offload App. This keeps your data and documents but removes the 5GB+ app binary. Once the update is done, you can tap the app icon to redownload it.
Pro Tip: Aim for at least 10GB to 15GB of free space before hitting “Download and Install.” It prevents the installer from “stuttering” during the verification phase.
Network Troubleshooting: Beyond the Router
6. Avoid Public Wi-Fi and Hotspots
I cannot stress this enough: Never try to update your iOS on Starbucks Wi-Fi or a mobile hotspot. These connections are often throttled or have “captive portals” that require a login. The update will fail during the Verification stage because the connection isn’t “pure” enough for Apple’s security checks.
7. Change Your DNS to 8.8.8.8
Sometimes your ISP’s DNS (Domain Name System) has trouble resolving Apple’s update servers.
- Go to Settings > Wi-Fi.
- Tap the (i) next to your network.
- Tap Configure DNS > Manual.
- Add
8.8.8.8(Google’s DNS) and1.1.1.1(Cloudflare). - Try the update again. I’ve seen this fix “Unable to Check for Update” errors instantly.
8. Reset Network Settings
If you’re still getting the “Software Update Failed” pop-up, your network cache might be the culprit.
- Warning: This will wipe your saved Wi-Fi passwords and Bluetooth pairings.
- Go to Settings > General > Transfer or Reset iPhone > Reset > Reset Network Settings.
- Your phone will reboot. Reconnect to your home Wi-Fi and try again.
Advanced Fix: Updating via Computer
If the OTA (Over-The-Air) update is failing, stop fighting it. Grab a cable. Updating via a computer is the “Gold Standard” because the computer does the heavy lifting of downloading and unpacking the IPSW file (the raw firmware).
9. Using macOS Finder or Windows iTunes
- Connect your iPhone to your Mac (using Finder) or PC (using iTunes).
- Locate your device in the sidebar.
- On the “General” or “Summary” tab, click Check for Update.
- If it finds the update, click Download and Update.
Why this is better: Your computer has much more storage and a more stable connection than your phone’s internal Wi-Fi chip. If you get the “Could not communicate with the device” error here, try a different Lightning or USB-C cable. Half the “hardware” failures I saw at Apple were just bad cables.
Removing Beta Profiles and Corrupt Data
10. The Beta Profile Pitfall
Are you a former beta tester? If you have an expired Beta Software Profile installed from a year ago, it can confuse your iPhone when it tries to find the “Official” public release.
- Go to Settings > General > VPN & Device Management.
- If you see an “iOS Beta Software Profile,” tap it and select Remove Profile.
- Restart your phone and check for the update again.
Disable Your VPN
VPNs are great for privacy, but they are the enemy of iOS updates. Apple’s servers need to verify your device’s region and authenticity. A VPN masks this and often leads to the “Unable to Verify Update” error. Turn it off completely until the update is finished.
Hand-on: What Worked for Me
Last month, my iPhone 15 Pro Max refused to update to the latest security patch. I had 200GB free, great Wi-Fi, and no VPN. I was baffled.
The culprit? I had a pending iCloud Backup that was “stuck.” My phone was trying to finish a backup before starting the update, and because the backup was hung, the update just kept failing. I cancelled the iCloud backup, restarted the phone, and the update went through in five minutes.
Lesson learned: Always check if there’s a background process (like a massive iCloud sync) hogging your processor before you try to update.
Frequently Asked Questions
Can a failed iOS update brick my phone?
It’s very rare. If an update fails during the download, nothing happens to your data. If it fails during the installation (the Apple logo screen), your phone might enter Recovery Mode. If that happens, connect it to a computer and select “Update” (not Restore) to fix the system without losing data.
Why does it say “Unable to Verify Update” because I’m no longer connected to the internet?
This usually means the download is corrupt. Delete the update file from your Storage settings and try again. It’s rarely an actual internet issue; it’s usually a checksum error where the file doesn’t match what Apple expected.
Do I need to back up before an update?
Yes. Always. Use iCloud Backup or a local backup on your Mac/PC. While updates usually go smoothly, a “Software Update Failed” error can occasionally lead to a boot loop. Don’t risk your photos.
My iPhone is stuck on the Apple logo after a failed update. What do I do?
This is where Force Restart comes in. Press Volume Up, then Volume Down, then hold the Side Button until the Apple logo reappears. If that doesn’t work, you’ll need to enter DFU Mode and connect to a computer to “Repair” the firmware.
Final Troubleshooting Checklist
If you’ve reached this far and it’s still failing, here is your “Nuclear Option” sequence:
- Backup to iCloud.
- Delete any existing update file in iPhone Storage.
- Force Restart your iPhone.
- Connect to a computer via a high-quality cable.
- Update through Finder or iTunes.
If even the computer update fails with a specific error code (like Error 4013), it might be a hardware issue with your iPhone’s NAND flash storage or the Wi-Fi antenna. At that point, it’s time to book an appointment at the Apple Store. But 99% of the time? One of the ten steps above will get you back in the game.
Good luck, and enjoy the new features!