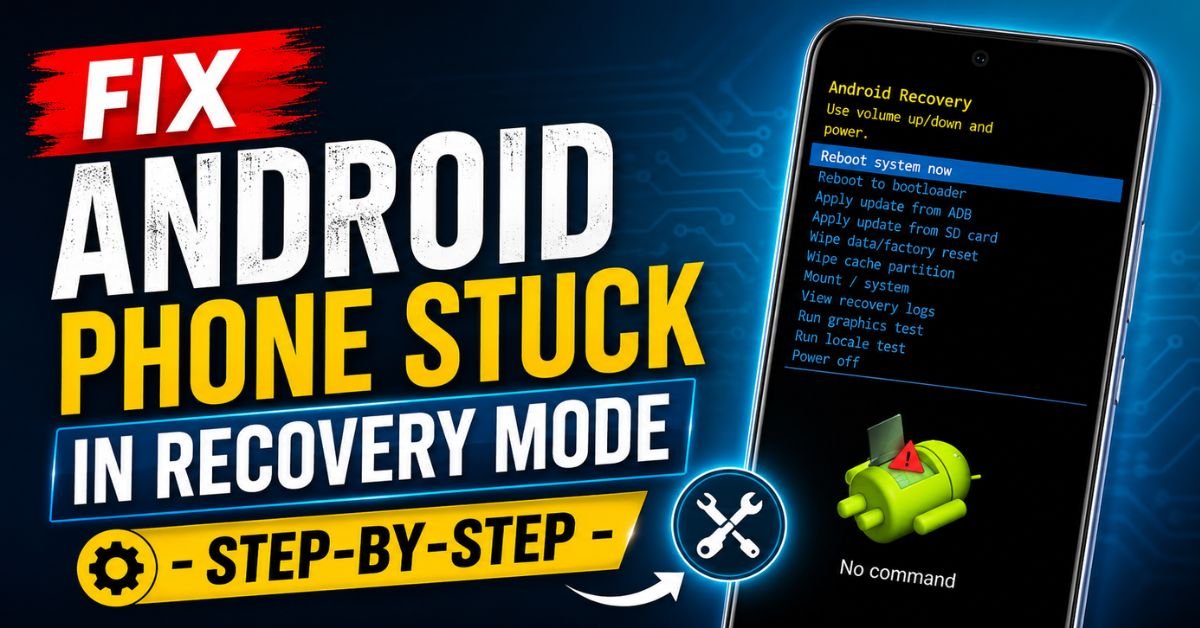
Fix Android Phone Stuck in Recovery Mode – Step-by-Step.I’ve spent the better part of the last decade hunched over a workbench, surrounded by the smell of isopropyl alcohol and the soft glow of microscopes. In that time, I’ve seen thousands of Android devices. But there is one specific panic that never changes: the look on a customer’s face when their phone is stuck in Recovery Mode. You know the screen—black background, tiny blue and yellow text, and a feeling that your entire digital life is hanging by a thread.
If you’re staring at a menu that mentions “Wipe data/factory reset” or “Reboot system now,” don’t touch anything just yet. Being stuck here is often a symptom, not the disease itself. Sometimes it’s a software glitch where the Android OS and the Kernel aren’t shaking hands properly. Other times, it’s a physical “cry for help” from a jammed button.

Before you assume your phone is a brick, let’s walk through how we actually fix this in a repair shop. We aren’t going to just “hope for the best”; we’re going to systematically eliminate the culprits.
Introduction: The Android Recovery Trap
Recovery Mode is essentially a small, separate partition on your phone’s internal storage (eMMC or UFS chip) that can boot independently of the main Android system. It’s the “Emergency Room” of your device. It’s designed to allow for system updates, cache clearing, and—if things go really sideways—a total factory reset.
The problem arises when your phone gets caught in a loop. You select “Reboot,” the logo flashes, and boom—you’re right back in the recovery menu. This is what we call the “Recovery Trap.”
Broadly speaking, you’re looking at one of two things:
- A Software Loop: The Bootloader (the first piece of code that runs when you turn the phone on) thinks the main OS is corrupted and refuses to load it, defaulting back to Recovery.
- A Hardware Trigger: Your phone thinks you are manually pressing the key combination (usually Power + Volume Up) to enter Recovery because a button is physically stuck.
Step 1: The Physical Inspection (Common Pitfall)
I can’t tell you how many times a “broken” phone was actually just a “dirty” phone. I remember a guy who brought in a Google Pixel 6 that had been stuck in recovery for three days. He was ready to buy a new phone. I took one look at his heavy-duty rugged case, popped it off, and the phone booted right up.
The Tight Case Culprit If your phone case is slightly warped or has a bit of grit caught near the Volume Rocker, it can put just enough pressure on the button to trigger a recovery boot every time the device restarts.

The “Click Test” Take your phone out of its case. Run your fingernail over the Volume Up, Volume Down, and Power buttons. Do they “click” with a sharp, tactile snap? If one of them feels mushy or doesn’t move at all, you’ve found your problem.
- The Fix: Use a drop of 90% (or higher) isopropyl alcohol on a Q-tip and rub it around the button. Rapidly click the button dozens of times to work the alcohol into the mechanism. This dissolves the “pocket gunk” or dried soda that’s keeping the contact closed.
Step 2: Basic Navigation and Forced Restart
Okay, if the buttons feel fine, let’s try the software approach. In the Recovery menu, your touchscreen usually won’t work. You have to use the Volume buttons to scroll and the Power button to select.
- Reboot system now: This is your first move. Highlight it and hit Power.
- The Soft Reset: If the phone just hangs or loops back, try a “Soft Reset” while the device is trying to boot. For most Androids, you hold Power + Volume Down simultaneously for about 15 to 20 seconds.
This forced restart cuts power momentarily and clears the temporary registers in the Kernel. It’s different from a regular restart because it bypasses certain software shutdown protocols that might be hanging.
Step 3: Advanced Exit Using ADB Commands
If you’re still staring at that text-heavy screen, it’s time to bring in the big guns: ADB (Android Debug Bridge). This is a developer tool that lets your computer talk to your phone’s “brains” via a USB cable.
Prerequisites:
- A PC or Mac with “Minimal ADB and Fastboot” drivers installed.
- A high-quality USB cable (cheap gas station cables often fail here).
The Process: Connect your phone to the computer. Open your command terminal (CMD on Windows or Terminal on Mac) and type: adb devices
If you see a string of numbers followed by “recovery,” you’re in business. Now, type the magic command: adb reboot

What this does is send a direct instruction to the Bootloader to ignore any “reboot-to-recovery” flags and attempt a normal boot. If your phone is stuck because of a “stuck” flag in the system software, this command clears it.
Pro Tip: What if ADB doesn’t see your phone? Sometimes you need to switch the phone into Fastboot mode (also called Bootloader mode). In the Recovery menu, look for an option that says “Reboot to bootloader.” Once there, you would use the command fastboot reboot.
Step 4: Clearing System Cache (Non-Destructive Fix)
One of the most common reasons a phone won’t exit recovery is a “Boot Loop” caused by a corrupted Cache partition. Think of the cache as the phone’s “short-term memory.” If a system update was interrupted, this memory can become a jumbled mess that prevents the Android OS from finishing its boot sequence.
Does this delete my photos? No. Wiping the cache is entirely safe for your data. Your photos, messages, and apps live in the “Data” partition, not the “Cache” partition.
How to do it:
- Use the volume keys to highlight “Wipe cache partition”.
- Press the Power button to select it.
- Confirm by selecting “Yes.”
- Once the “Cache wipe complete” message appears at the bottom, select “Reboot system now”.
I’ve seen this fix 40% of Samsung devices that get stuck after an Over-The-Air (OTA) update. It’s the “Goldilocks” of fixes—not too aggressive, just right.
Expert Insight: If you are using a TWRP Custom Recovery, the process is even easier. You can go to “Wipe” -> “Advanced Wipe” and select “Dalvik / ART Cache” and “Cache.” This often fixes weird “System UI has stopped” errors that force a phone into recovery.
Step 5: The Factory Reset Option (The Last Resort)
We’ve reached the “break glass in case of emergency” step. If you’ve tried the buttons, the ADB commands, and the cache wipe, and you’re still stuck, it means your System Firmware or the “Data” partition is likely corrupted.
WARNING: Selecting “Wipe data/factory reset” will erase everything. Photos, contacts, that high score in the game you’ve played for three years—gone.
Why is this necessary? Sometimes the encryption key for your data gets corrupted. Android can’t read your files, so it can’t boot. By performing a factory reset, you’re essentially formatting the drive and starting fresh.
The “FRP” Trap: Before you do this, remember your Google Account password. Android has a feature called Factory Reset Protection (FRP). If you reset the phone from Recovery Mode, it will lock itself until you enter the Google account details that were previously on the device. It’s an anti-theft measure, but it’s a nightmare if you’ve forgotten your password.
Conclusion: Beyond Software Fixes
If you’ve performed a Factory Reset and the phone still boots back into Recovery, I have bad news: you’re likely looking at a hardware failure.
In my shop, this usually points to two things:
- Failed eMMC/UFS Chip: The internal flash storage has reached its end-of-life or has developed “bad sectors” where the OS lives.
- Short-circuited Button Flex: The internal ribbon cable for the volume buttons might be shorted due to liquid damage.
At this point, you need a professional who can perform micro-soldering or at least swap out the internal button flex cables. Don’t beat yourself up—hardware fails, and sometimes no amount of button-mashing or terminal commands can fix a physical break.
The “Recovery Trap” is frustrating, but by moving from the simplest physical checks to the more complex software commands, you give your device the best chance of survival without losing your precious data.
Frequently Asked Questions
1. Why does my phone say “No Command” with a fallen Android icon?
This is actually the “waiting” screen of the stock Android recovery. To see the menu, you usually have to hold the Power button and then tap the Volume Up button once. It’s not broken; it’s just waiting for you to tell it what to do.
2. Can I get my photos off the phone while it’s in Recovery Mode?
Generally, no. If the phone is encrypted (which all modern Androids are), the data is locked away until the OS boots and you enter your PIN. However, if you have a TWRP Custom Recovery installed and your data partition isn’t corrupted, you might be able to use the “File Manager” within TWRP or “ADB Pull” commands to rescue some files.
3. My phone’s recovery menu is in Chinese. What do I do?
This is common on devices with MediaTek processors (like some Xiaomi, Vivo, or older Huawei phones). Look for an option that has the letters “eMMC” or a string that ends in “RESET”. Usually, the very last option in the menu is the “Reboot” command. If you’re unsure, use a second phone with the Google Lens app to translate the screen in real-time.
4. Will exiting Recovery Mode via ADB void my warranty?
No. Using ADB to reboot a device is a standard troubleshooting step and does not involve unlocking the bootloader or “rooting” the device. It’s a safe, non-invasive way to communicate with the phone’s firmware.
5. What if the “Reboot system now” option is missing?
It’s rare, but it happens if the recovery partition itself is corrupted. In this case, your only real option is to use a PC to “Flash” the official System Firmware (Stock ROM) using tools like Odin (for Samsung) or MiFlash (for Xiaomi). This replaces the entire operating system and recovery image with a fresh copy.