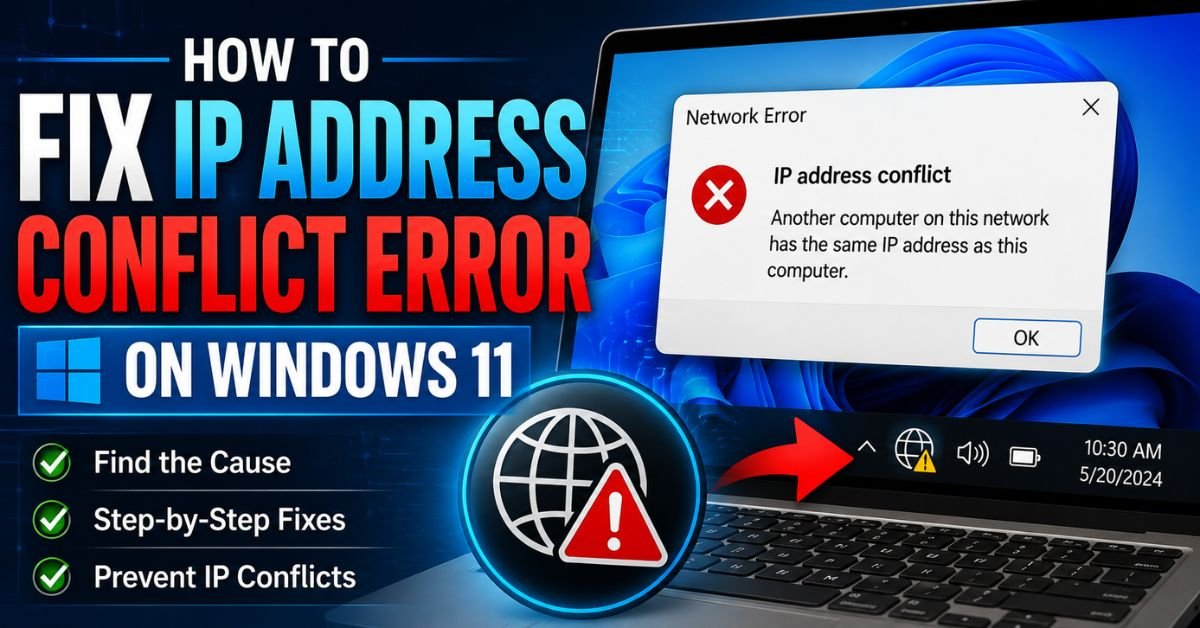
How to Fix IP Address Conflict Error on Windows 11.I was sitting at my desk last Tuesday, sipping a lukewarm coffee, ready to jump into a Zoom meeting with a client. Just as I clicked the join link, my connection dropped. Instead of my client’s face, I was greeted by a yellow warning triangle in my system tray and a frustrating notification: “Another computer on this network has the same IP address.”
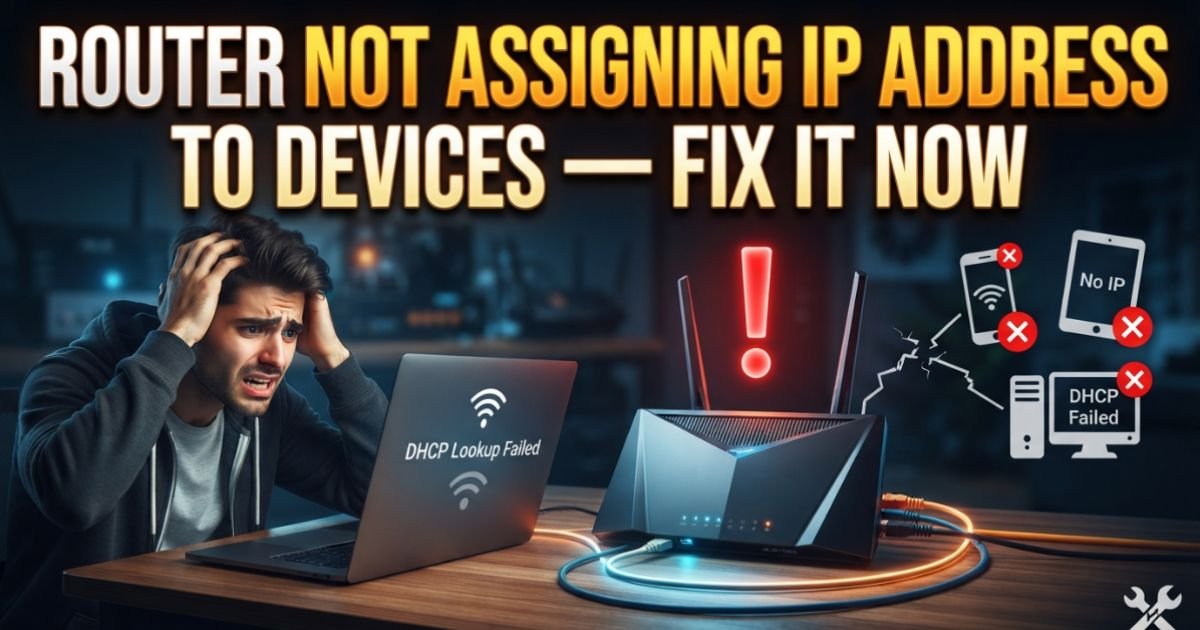
If you are seeing a similar message on your screen, you are dealing with a classic IP address conflict. On Windows 11, this error happens when two or more devices on the same local area network (LAN) are mistakenly assigned the exact same local IP address.
Think of your home network like a local post office. Your router is the postmaster, and every device—your Windows 11 PC, your iPhone, your Ring doorbell, or your Amazon Echo—is a house that needs a unique mailing address. If the postmaster accidentally hands out the exact same house number to both your PC and your smart TV, the mail carrier (your network traffic) gets confused. It does not know where to deliver the data packets, so both devices lose their connection to prevent data leaks.
Fortunately, fixing a duplicate IP address on Windows 11 is straightforward. Whether you are running on a Comcast Xfinity gateway, a Spectrum router, or a blazing-fast Verizon Fios fiber connection, I will walk you through the exact hands-on steps I use to resolve these clashes without messing up your network.
Method 1: Release and Renew Your IP Address via Command Prompt (Hands-On Steps)
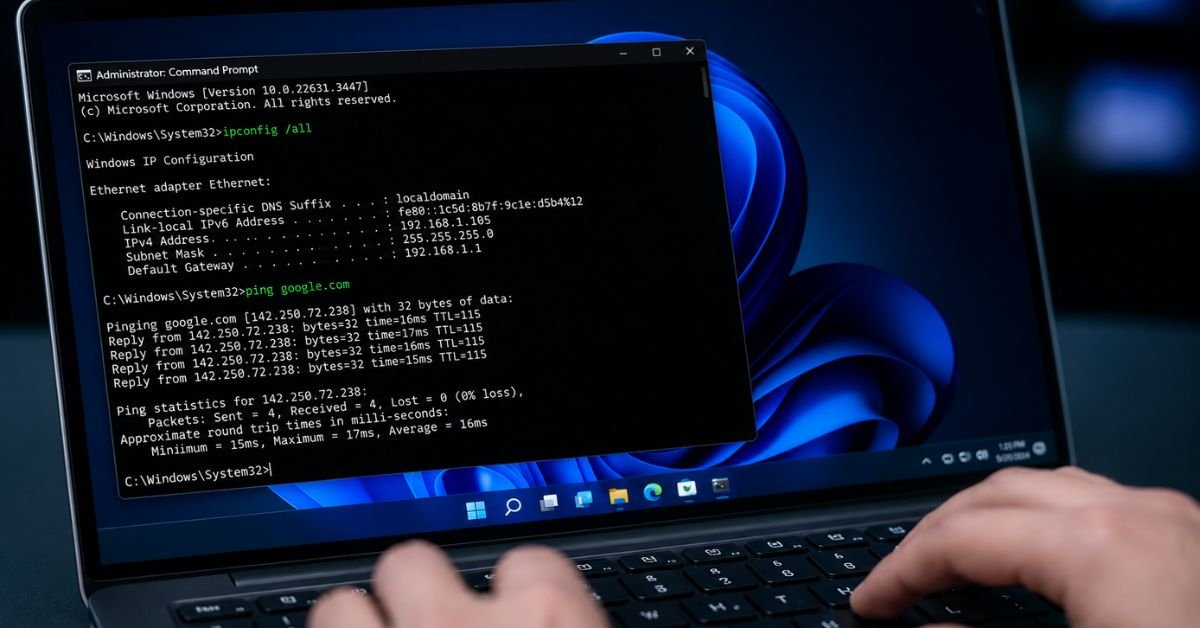
The fastest and most reliable way to fix ip address conflict command prompt style is by forcing your computer to discard its current network configuration and request a completely fresh lease from your router’s Dynamic Host Configuration Protocol (DHCP) server.
When you perform an ipconfig release and renew windows 11 process, you are essentially telling your Network Adapter to drop its current lease and ask the router for a clean, unclaimed IPv4 address.
Here is exactly how to do it:
- Press the Windows Key, type
cmd, and right-click on Command Prompt. - Select Run as administrator (this is crucial, as standard user permissions will block network configuration changes).
- In the black window, type the following command to release your current IP address and press Enter:
ipconfig /release(Your internet connection will drop completely for a moment. This is normal. Your screen might show that the media is disconnected.)
- Next, type this command to request a brand-new IP address from your router and press Enter:
ipconfig /renew(Wait a few seconds. The screen will display your new local IP, Subnet Mask, and Default Gateway.)
- Finally, let’s clear out any corrupted DNS routing data by flushing your local cache. Type this command and press Enter:
ipconfig /flushdns
Close the Command Prompt and check your internet status. In about 90% of home office scenarios, this simple trick solves the clash instantly.

Method 2: Switch to Automatic IP Assignment (DHCP)
Sometimes, we manually configure our network settings for gaming, file sharing, or running home servers. However, manually setting a Static IP Address on your PC can easily cause a clash if the router is not aware of your choice and hands that exact same address to your spouse’s tablet or a smart plug.
If you or an application previously configured your network properties manually, switching back to automatic assignment will resolve the clash.
- Press
Windows Key + Ito open the Settings app. - Navigate to Network & internet on the left sidebar.
- Click on either Wi-Fi or Ethernet (depending on how your computer is connected to the internet).
- Click on your active network properties (usually labeled with your Wi-Fi SSID or network name).
- Locate the row labeled IP assignment and click the Edit button next to it.
- In the pop-up menu, change the setting from Manual to Automatic (DHCP).
- Click Save.
By changing this, your Windows 11 machine will dynamically query your router’s DHCP server for an open, unconflicted IP address every single time you boot up.
Method 3: Perform a Full Power Cycle of Your Router and Modem
If your computer is set to automatic IP assignment but you find yourself asking, “why does my router keep giving ip conflicts?” the issue lies within your router’s internal memory.
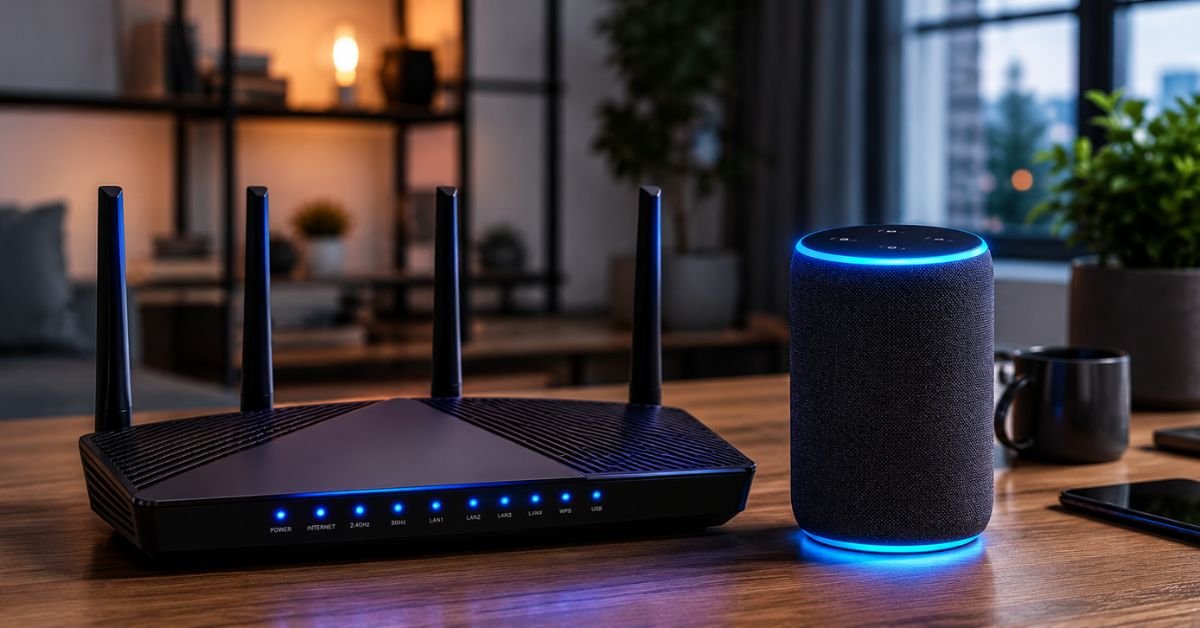
Over time, especially with dozens of smart home devices connecting and disconnecting (like Ring doorbells, Nest thermostats, and Amazon Echo speakers), the router’s DHCP lease table can become corrupted. It might forget that it already assigned 192.168.1.15 to your smart TV and hand the same address to your Windows 11 PC.
A simple software restart of the router from an app rarely clears this cache. You need a hard power cycle.

- Locate your modem and router (or your all-in-one gateway from Xfinity, AT&T, or Spectrum).
- Pull the physical power cables out of the back of both units. Do not just press the power button; completely remove the power source.
- Wait a full 60 seconds. This gives the capacitors in the hardware time to fully discharge and wipes the active system RAM where the corrupted DHCP tables are stored.
- Plug your modem back in first. Wait about 2 to 3 minutes until all its lights (specifically “Online” or “Downstream/Upstream”) turn solid.
- Plug your router back in. Wait another 2 minutes for it to boot up and broadcast its Wi-Fi signal.
- Restart your Windows 11 PC.
Once everything boots up, your router will fresh-start its lease assignments, ensuring clean, non-conflicting IP allocations across all your home devices.
Expert Insight: The “Smart Home” IP Trap
Many modern US households are packed with cheap, smart home IoT devices like Wi-Fi smart plugs, ambient LED light strips, or budget security cameras. Many of these devices use outdated, poorly written network firmware that ignores DHCP lease expiration dates. They will hog an IP address indefinitely, even after your router has tried to reclaim it. If your Windows 11 machine boots up and requests a lease, the router might assign that seemingly “free” address to your PC, creating an instant conflict. Keeping IoT devices on a dedicated “Guest” Wi-Fi network is an excellent way to prevent these cheap microchips from clashing with your primary workstation.
Method 4: Disable and Re-enable Your Network Adapter
Think of this method as giving your PC’s physical network card a quick, localized slap. It forces the hardware driver to reset and re-initialize its handshake with your home network without needing to reboot your entire operating system.
- Press
Windows Key + Ron your keyboard to open the Run dialog box. - Type
ncpa.cpland press Enter. This opens the legacy Network Connections control panel, which is still the fastest way to manage adapters on Windows 11. - Identify your active connection (either Wi-Fi or Ethernet).
- Right-click on the active adapter and select Disable. Your internet connection will immediately cut out.
- Wait roughly 10 to 15 seconds.
- Right-click the adapter again and select Enable.
Your network card will re-initialize, re-query your router, and search for a clean lease, clearing up any temporary glitch causing a dhcp lookup failed windows 11 wifi error.
Method 5: Reset TCP/IP Stack and Winsock via CMD
If you have tried everything above and you are still plagued with the “another computer has the same IP” message, your system’s underlying network protocol stack might be corrupted.
Over time, third-party VPNs, security software, or system updates can leave remnants in your TCP/IP stack or Winsock catalog. Resetting these components via the Command Prompt resets your network configuration back to its factory default “out-of-the-box” state.
- Open Command Prompt as Administrator (search
cmdin the Start menu, right-click, and choose Run as administrator). - Type the following command to reset the Winsock catalog and press Enter:
netsh winsock reset - Next, type this command to completely rebuild your internet protocol (TCP/IP) stack and press Enter:
netsh int ip reset - Finally, trigger a complete Network Reset on Windows by restarting your computer.
Once your system boots back up, you will need to re-enter your Wi-Fi password, but your underlying network configuration will be perfectly clean and free of conflicts.
Common Pitfalls When Troubleshooting Windows 11 IP Conflicts
When you are desperately trying to get back online, it is easy to make mistakes that can complicate your troubleshooting process.
- Setting a Static IP inside the DHCP Pool: Many people try to assign static ip address windows 11 configurations manually on their PC to bypass conflicts. However, if you assign
192.168.1.50on your PC, and your router’s automatic DHCP pool goes from192.168.1.2to100, the router might still assign192.168.1.50to a smartphone later on. Always check your router’s admin page to ensure static IPs are assigned outside the dynamic DHCP pool range. - Ignoring the MAC Address: Sometimes, virtual machines (like Hyper-V or VirtualBox) run on your Windows 11 PC and clone your physical network card’s MAC Address. If two network adapters on the same switch have identical MAC addresses, they will repeatedly trigger IP and routing conflicts.
- Over-relying on the Windows Troubleshooter: The built-in Windows 11 network troubleshooter is great for basic issues, but for complex IP conflicts, it often returns a generic “Default Gateway not available” message. Save time by running manual Command Prompt commands instead of waiting on the automated troubleshooter.
How to Prevent Future Network Clashes on Your Home LAN
If you want to make sure you never see this error pop up during an important work call again, you should take a proactive approach to managing your local network.
1. Set Up DHCP Reservations (IP Reservations)
Instead of manually typing static IPs on your individual devices, manage them directly from your router. Log into your router’s administration portal (usually accessed by typing 192.168.0.1, 192.168.1.1, or 10.0.0.1 into your browser bar) and look for DHCP Reservation or Static IP Lease.
From here, you can bind your Windows 11 computer’s unique MAC Address to a specific local IP address (like 192.168.1.150). The router will save this address specifically for your PC and will never hand it out to any other device on your network.
2. Adjust Your DHCP Lease Time
By default, some ISPs set DHCP lease times to very long periods (like a week or more). If you have guests over or have many mobile devices connecting and disconnecting, your router can run out of available IP addresses. Changing your lease time in your router settings to 24 hours forces the network to clean up and reclaim unused IP addresses faster, reducing the risk of a clash.
Frequently Asked Questions
Why does my Windows 11 computer say “another computer has the same IP”?
This means two devices on your home network are attempting to use the exact same local IP address. Since IP addresses must be completely unique for data to route correctly, your network adapter disables its connection to prevent data collisions and security issues.
Can a hacker cause an IP address conflict on my network?
While network spoofing attacks exist, they are incredibly rare on residential networks. In 99% of cases, an IP conflict is simply a benign routing glitch caused by a smart home device failing to renew its DHCP lease properly, or your router getting confused after a power outage.
How do I find my Windows 11 MAC address to set up an IP reservation?
Open Command Prompt, type getmac or ipconfig /all, and press Enter. Look for the Physical Address line corresponding to your active network adapter (it will look like a series of six pairs of letters and numbers, e.g., A1-B2-C3-D4-E5-F6). This is your MAC address.
Will resetting my network settings delete any of my personal files?
No. Performing a network reset or running commands like netsh int ip reset only resets your system’s network configuration files, Wi-Fi profiles, and network adapter drivers back to default values. Your personal files, photos, and apps will remain completely untouched.