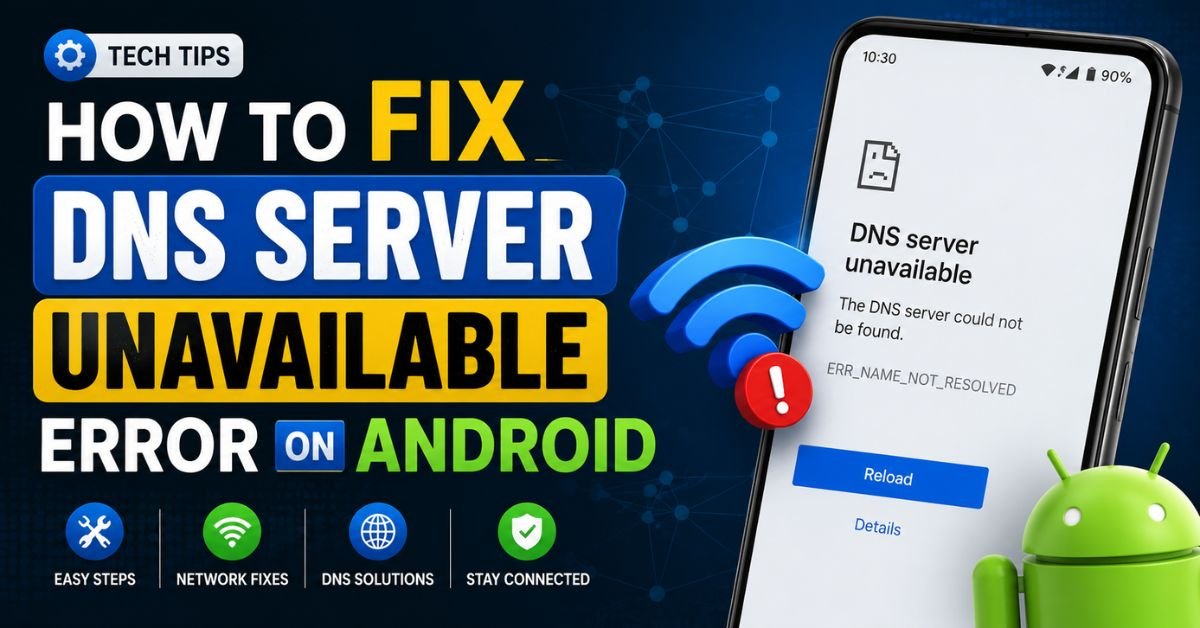
How to Fix DNS Server Unavailable Error on Android.We’ve all been there. You’re lounging on your couch, scrolling through your feed, and suddenly everything freezes. You look up at the status bar and see that dreaded Wi-Fi icon with a tiny exclamation point. You open your browser, only to be greeted by a page saying your internet is down because the “DNS server is unavailable.”
As a network administrator who spends way too much time managing both enterprise networks and a smart home filled with mobile devices, I see this all the time. Just last week, while testing a new smart home hub on my Samsung Galaxy running Android 14, my entire connection stalled out. My phone insisted my local Comcast Xfinity gateway had lost its mind.

If you are dealing with this right now, don’t worry. This isn’t a sign that your phone is broken, nor does it mean your home router is fried. Usually, it’s just a simple communication breakdown between your Android Operating System and the servers that translate web addresses into numbers. Let’s get this fixed without you needing to call your ISP’s customer support line.
1. Understanding the “DNS Server Unavailable” Error on Android
To fix this, we need to understand what is actually happening behind your screen. The Domain Name System (DNS) is essentially the phonebook of the internet. When you type a website name like google.com, your phone doesn’t know where that is. It asks a DNS server to translate that human-friendly name into a machine-readable IP Address (like 142.251.40.110).
When your phone complains about an android dns server unavailable wifi error, it means your device can’t get that translation. It might be connected to your local Wi-Fi router, but the router isn’t passing along the DNS queries, or the DNS servers assigned by your Internet Service Provider (ISP)—like Spectrum or AT&T—are temporarily offline.
In my years of troubleshooting mobile devices, I’ve noticed that Android uses specific background connectivity checkers to verify if your internet is working. Your phone constantly pings Google servers (specifically connectivitycheck.gstatic.com) using HTTP and DNS requests. If those requests fail to return a valid IP Address, Android immediately flags the connection as “Connected, no internet” or throws a DNS-related warning. This is why you might see a fully active Wi-Fi signal, yet you can’t load a single webpage.
2. Quick Fixes to Try First (No Complex Technical Steps Required)
Before we start changing system settings or rewriting network configurations, let’s try the simple stuff. You would be amazed at how often a basic system reset clears up stalled network processes.

- Toggle Airplane Mode: Swipe down to open your Quick Settings panel and tap the Airplane icon. Wait about 10 seconds, then tap it again. This forces your phone’s wireless radios to completely detach from the cellular tower and Wi-Fi router, resetting the DHCP client on your phone.
- Power Cycle Your Wi-Fi: Turn off the Wi-Fi toggle on your phone, wait five seconds, and turn it back on.
- The 30-Second Router Reboot: This is a classic for a reason. Don’t just press the power button on your router. Pull the actual power cord out of the back of your Comcast Xfinity, Spectrum, or AT&T gateway. Leave it unplugged for at least 30 seconds. This forces the router to dump its internal DNS Cache and request a fresh configuration from your ISP’s headend.
Often, users ask: why does my android say dns server not responding? Most of the time, it’s because the router’s local DNS proxy has crashed under the load of too many connected smart home devices. A quick router reboot clears that bottleneck instantly.
3. Step-by-Step Guide to Configuring Private DNS on Android
If the quick fixes didn’t work, we need to take control of how your phone handles DNS queries. Since Android 9.0 Pie, Google has included a native feature called Private DNS. This feature uses DNS-over-TLS (DoT) to encrypt all your DNS traffic, bypassing your local router’s DNS settings entirely. It is also the easiest way to change dns settings on android without root.
If you are wondering how to configure private dns android 13 or 14, follow these steps. I took these screenshots on my Google Pixel running Android 13 and my Samsung Galaxy on Android 14—the process is nearly identical.
How to set up Private DNS:
- Open your phone’s Settings app.
- Tap on Network & internet (on Samsung devices, this is often under Connections).
- Scroll down and select Private DNS (on some phones, you may need to tap More connection settings first).
- By default, it is set to “Automatic.” Change this selection to Private DNS provider hostname.
- Now, enter one of the following highly reliable, low-latency North American DNS providers:
- For Google Public DNS, type:
dns.google - For Cloudflare 1.1.1.1, type:
one.one.one.one
- For Google Public DNS, type:
- Tap Save.
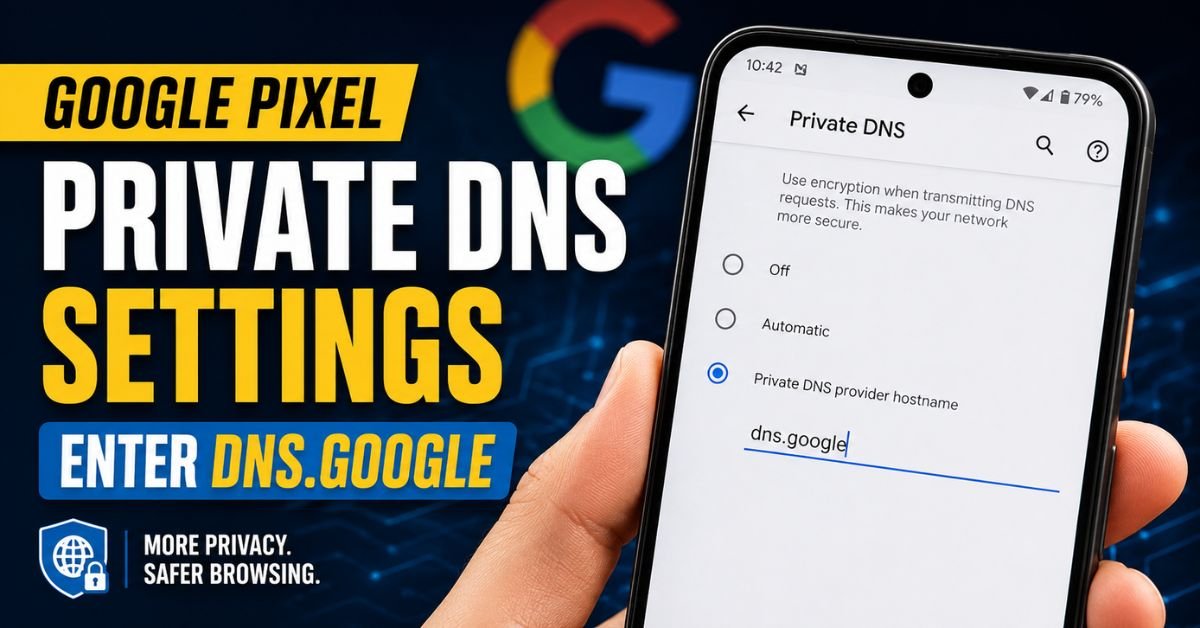
Using these modern hostnames is incredibly effective in the US, as both Google and Cloudflare run massive edge networks with optimal latency across every state.
⚠️ Warning on the “Android private dns server cannot be accessed” fix: If you save these settings and suddenly lose all internet connectivity, don’t panic. This usually means your current network (like a strict corporate Wi-Fi or public hotspot) is blocking Port 853, which is required for secure DNS-over-TLS. If this happens, switch Private DNS back to “Automatic” or “Off” until you are back on a standard home connection.
4. Switching to Static IP & Custom DNS on Android Wi-Fi Settings
If your home router is acting up and refusing to play nice with Private DNS, you can manually override your IP configurations. By default, your router uses DHCP (Dynamic Host Configuration Protocol) to automatically hand out an IP Address and DNS server locations to your phone.

But if you are experiencing the spectrum wifi dns server unavailable on phone issue, it is often because Spectrum’s default DNS servers are struggling. We can bypass this by assigning a Static IP to your device along with custom IPv4 DNS addresses.
Here is how to fix dns server unavailable on galaxy phone (and other Android devices) using a manual static IP:
- Swipe down and long-press your Wi-Fi icon to open the Wi-Fi settings.
- Tap the Gear icon next to your currently connected network.
- Tap View more or Advanced at the bottom of the screen.
- Look for IP settings and change it from DHCP to Static.
- Your current IP details should pre-populate. If they don’t, check your router’s gateway IP (usually
192.168.1.1or192.168.0.1) and set your phone’s IP to something similar but higher (e.g.,192.168.1.150). - Scroll down to DNS 1 and DNS 2.
- Enter the manual IPv4 addresses:
- DNS 1 (Google):
8.8.8.8 - DNS 2 (Google):
8.8.4.4 - Alternative Cloudflare options:
1.1.1.1and1.0.0.1
- DNS 1 (Google):
- Tap Save.
| DNS Provider | DNS 1 (Primary) | DNS 2 (Secondary) | Best Use Case | | :— | :— | :— | :— | | Google Public DNS | 8.8.8.8 | 8.8.4.4 | Raw speed & reliable routing across the US | | Cloudflare | 1.1.1.1 | 1.0.0.1 | Privacy focus & excellent speed | | AdGuard DNS | 94.140.14.14 | 94.140.15.15 | Ad blocking at the DNS level |
By moving from DHCP to Static IP, your phone no longer relies on your router’s routing tables to discover where the DNS servers live. It goes straight to the source.
5. Resetting Network Settings & Clearing Android DNS Cache
Sometimes, the internal network routing tables inside the Android Operating System get corrupted. This is especially common after major OS updates (like jumping from Android 13 to Android 14). To resolve this, we can clear the system’s DNS Cache or, in extreme cases, perform a full Network Settings Reset.
How to Clear Your Chrome/System DNS Cache:
You don’t need a rooted phone to clear your device’s internal DNS cache. Since most of Android’s web rendering uses the System WebView (which is based on Chromium), you can clear it directly from Google Chrome:
- Open Google Chrome on your Android device.
- Type
chrome://net-internals/#dnsinto the address bar and press enter. - Tap the clear-cut Clear host cache button.
- Restart Chrome.
Performing a Network Settings Reset:
If the issue persists across all Wi-Fi networks and cellular data, you need to wipe your network slate clean.
⚠️ Note: This process will erase all saved Wi-Fi networks, Bluetooth pairings, and custom mobile network profiles. You will need to re-enter your home Wi-Fi password.
- On standard Android (Pixel, Motorola): Go to Settings > System > Reset options > Reset Wi-Fi, mobile & Bluetooth.
- On Samsung Galaxy: Go to Settings > General management > Reset > Reset mobile network settings / Reset Wi-Fi and Bluetooth settings.
Confirm the action, let your phone restart, and then reconnect to your Wi-Fi network. This forces Android to rebuild its entire IPv4 and IPv6 network stacks from scratch.
6. Common Pitfalls to Avoid: VPN Conflicts, Hostname Typos, and Faulty Security Apps
In my daily testing, I’ve discovered that the culprit behind connection drops isn’t always your ISP. Often, it’s the apps we install to protect ourselves.
The VPN and Private DNS Clash
If you run apps like AdGuard, NordVPN, ExpressVPN, or Surfshark, they create a local loopback VPN connection on your phone to filter traffic. When you have an active VPN and a hardcoded Private DNS hostname configured in your Android settings, they will conflict. The VPN will try to force traffic through its secure tunnel, while the Android OS tries to force DNS queries over TLS through port 853.
The result? The system hangs, and you get a persistent “DNS Server Unavailable” warning.
My Advice: If you use a premium VPN, turn your Android Private DNS setting to Off or Automatic. Let your VPN app handle the DNS security. Most modern VPN clients have built-in custom DNS settings within their own app menus.
Typos in Hostnames
It sounds incredibly basic, but a single misplaced character in your Private DNS provider hostname will instantly break your internet connection. I once spent 45 minutes diagnosing my wife’s phone only to realize she had typed one.one.one.on instead of one.one.one.one. Double-check your spelling!
7. Checking for Local ISP Outages & Hardware Troubleshooting (Spectrum, Xfinity, AT&T)
If you have tried all the steps above and your cellular data works fine, but your home Wi-Fi still throws the DNS error, you are likely looking at a localized outage.
Major US internet service providers like Spectrum, Comcast Xfinity, and AT&T occasionally experience localized DNS routing failures. In these scenarios, their main network lines are working, but their regional DNS resolving machines are overwhelmed or down.
How to verify an ISP-level DNS issue:
- Disconnect your phone from Wi-Fi and check if websites load normally over mobile LTE/5G.
- If mobile data works perfectly, download a free app like PingTools from the Google Play Store.
- Run a traceroute or ping to a public IP address like
8.8.8.8. If the ping succeeds, but pinginggoogle.comfails, your ISP’s DNS servers are 100% offline. - At this point, keeping your Android device configured with Private DNS (
one.one.one.one) is your best workaround. It bypasses your ISP’s broken servers entirely, letting you browse the web while your neighbors wait for the provider to fix the local outage.
Frequently Asked Questions
Why does my phone say “Private DNS server cannot be accessed”?
This error occurs when your Android device cannot establish a secure connection (via Port 853) to the DNS provider hostname you saved in your settings. This is usually caused by firewall restrictions on public Wi-Fi networks, a localized ISP outage, or a conflict with an active VPN service on your device.
Can a bad DNS setting drain my Android phone’s battery?
Surprisingly, yes. When Android detects a “DNS server unavailable” error, its internal network manager continuously loops background connection checks to see if the internet has returned. This constant radio activity and network polling can lead to noticeable battery drain if left unresolved for hours.
Is it safe to use Google or Cloudflare DNS instead of my ISP’s?
It is actually much safer. Standard ISP DNS servers are often slow and can keep logs of your browsing history for targeted marketing. Providers like Cloudflare (1.1.1.1) offer significantly faster resolution times and delete query logs within 24 hours, enhancing both your privacy and internet speed.
Do I need to root my Android phone to change DNS settings?
No, you do not. Modern Android operating systems (Android 9.0 and newer) allow you to easily change your DNS settings globally using the “Private DNS” feature. For older versions of Android, you can change your DNS settings by setting a static IP address in your Wi-Fi connection settings, all without rooting your device.