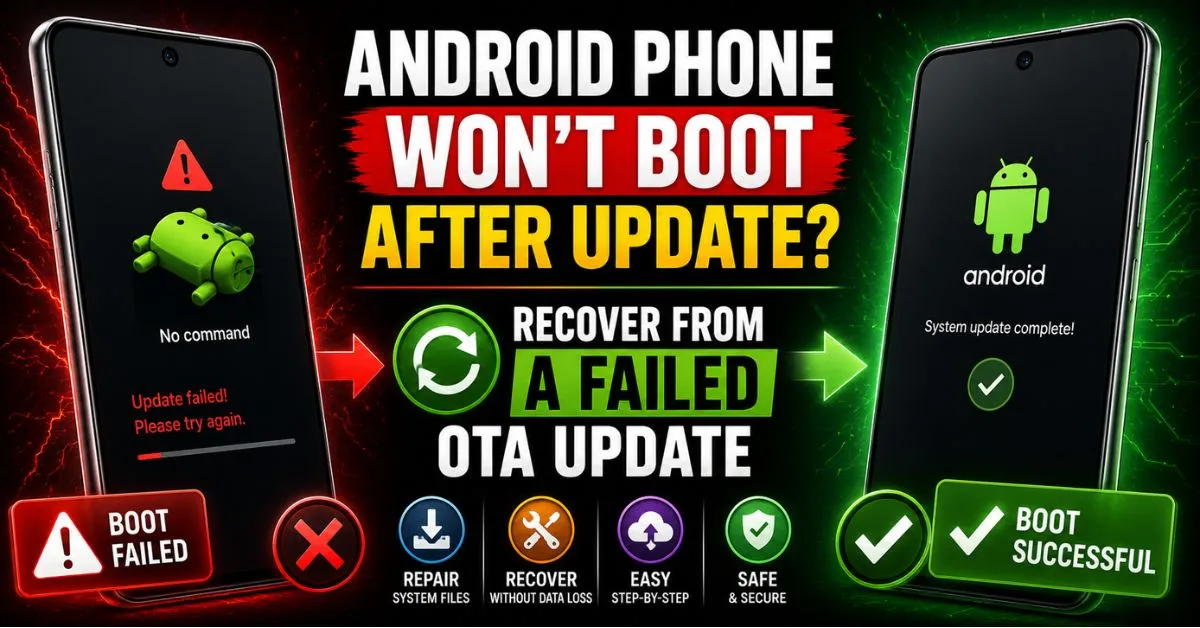
I’ve been there. It’s 11:30 PM, you finally tap “Install Now” on that 1.2GB system update, and you head to the kitchen for a glass of water. When you come back, your phone isn’t showing the lock screen. Instead, you see the manufacturer’s logo. Then it disappears. Then it vibrates. Then the logo comes back.
- 1. The Anatomy of a Failed Android Update
- 2. Identifying a Boot Loop vs. a “Black Screen of Death”
- 3. The Role of the OTA Process
- 4. First Response: Immediate Steps to Revive Your Phone
- 5. The “Simulated Battery Pull”
- 6. Booting into Safe Mode
- 7. The PC Connection Test
- 8. Using Android Recovery Mode Like a Pro
- 9. Getting In (The Secret Handshake)
- 10. Wiping the Cache Partition: The Non-Destructive Fix
- 11. The “Mount System” Check
- 12. Advanced Recovery: Manual Firmware Reinstallation
- 13. Using ADB Sideload
- 14. Flashing Factory Images
- 15. Real-World Scenarios and Pitfalls to Avoid
- 16. The “Optimizing Apps” Fake-Out
- 17. The Danger of Low Battery During Recovery
- 18. Preserving Data with Custom Recovery
- 19. Frequently Asked Questions
- 20. 1. Will a failed OTA update void my warranty?
- 21. 2. Can I recover my photos if the phone is stuck in a boot loop?
- 22. 3. What is the difference between a Soft Brick and a Hard Brick?
- 23. 4. Why did my update fail even though I had enough space?
- 24. 5. My phone says “No Command” with a dead Android icon. Is it dead?
Welcome to the “Boot Loop” club—a place no Android enthusiast ever wants to visit, but most of us end up in eventually.
When an Over-The-Air (OTA) update fails, it feels like your expensive glass-and-metal slab has just become a very pretty paperweight. But after a decade of flashing ROMs, reviving “dead” Pixels, and wrestling with Samsung’s finicky firmware, I’ve learned that most of these “bricks” are actually just “soft-bricked.” They aren’t dead; they’re just confused.
Let’s walk through how to diagnose what went wrong and how to get your data—and your sanity—back.
The Anatomy of a Failed Android Update
Before we start mashing buttons, we need to know what we’re dealing with. A failed update usually manifests in one of two ways.
Identifying a Boot Loop vs. a “Black Screen of Death”
A boot loop is rhythmic. You’ll feel a short vibration, see the Google or Samsung logo, and then—just when you think it’s about to start—it cuts to black and starts over. This is usually the result of the System Partition being unable to verify the new code, causing the Bootloader to reject the boot sequence and trigger a restart.
The “Black Screen of Death” is scarier. The phone is unresponsive. No lights, no vibration. If you’re lucky, it’s just a depleted battery because the update process drained it. If you’re unlucky, you might be looking at a Hard Brick, where the low-level boot code is corrupted.
The Role of the OTA Process
When your phone downloads an OTA update, it’s basically downloading a series of patches. Modern Android devices (especially those with A/B partitions) try to be smart. They install the update on an inactive partition while you use the active one. When you reboot, they swap. If the new partition fails to boot, the system is supposed to roll back automatically.

🔗 Related Android Fixes
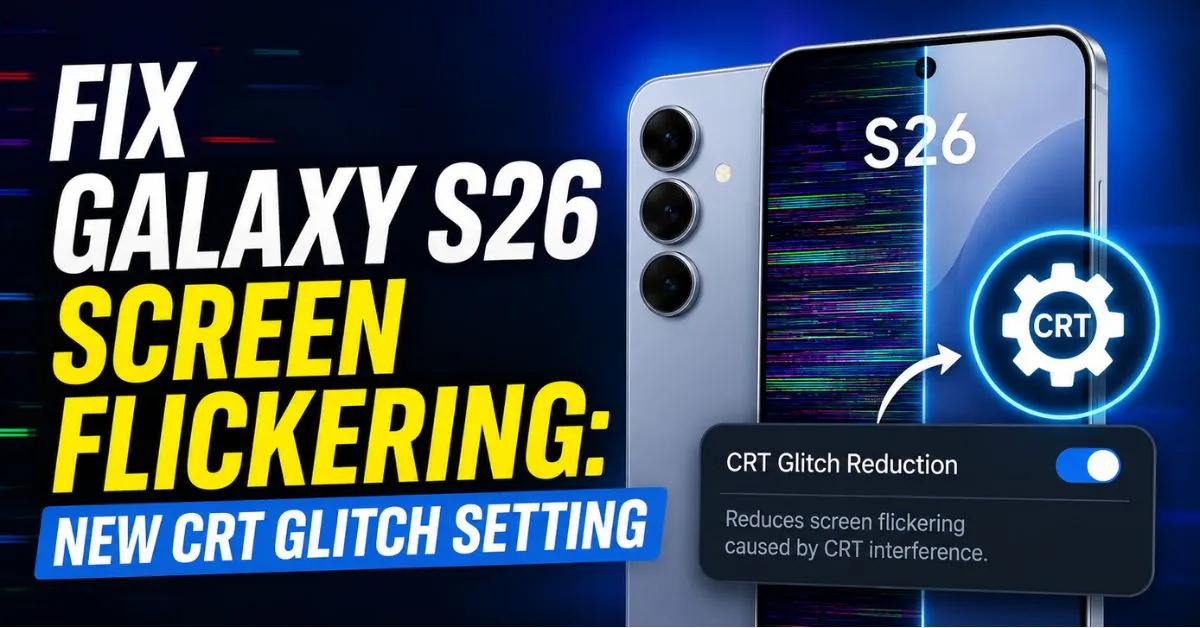
- Samsung Galaxy S26 CRT Glitch Solution
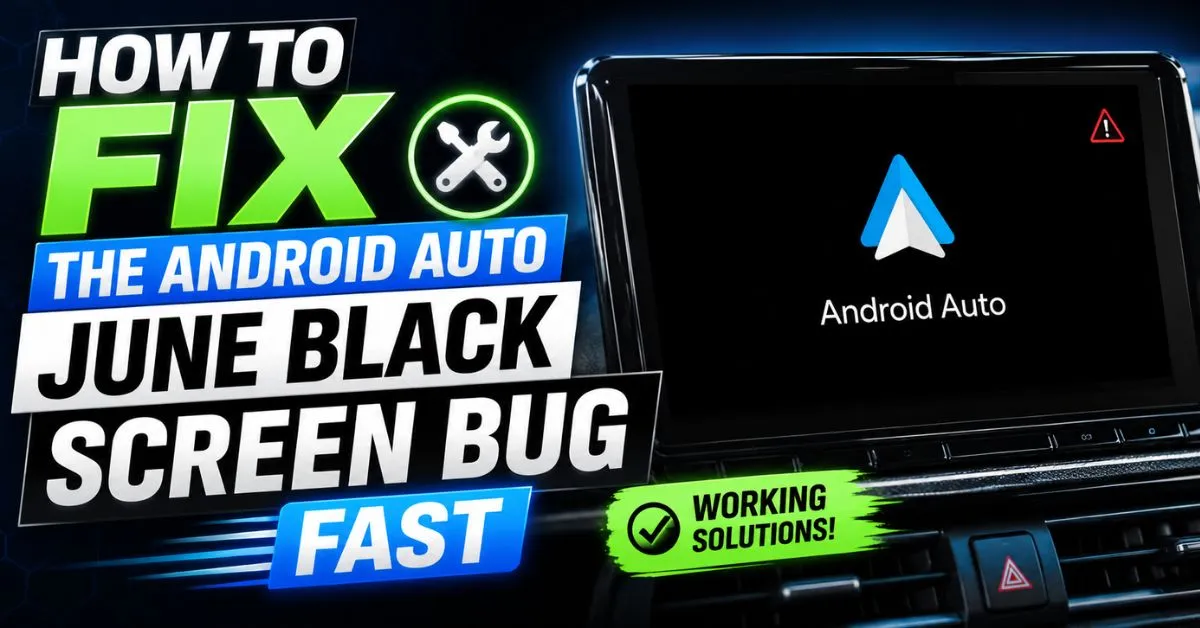
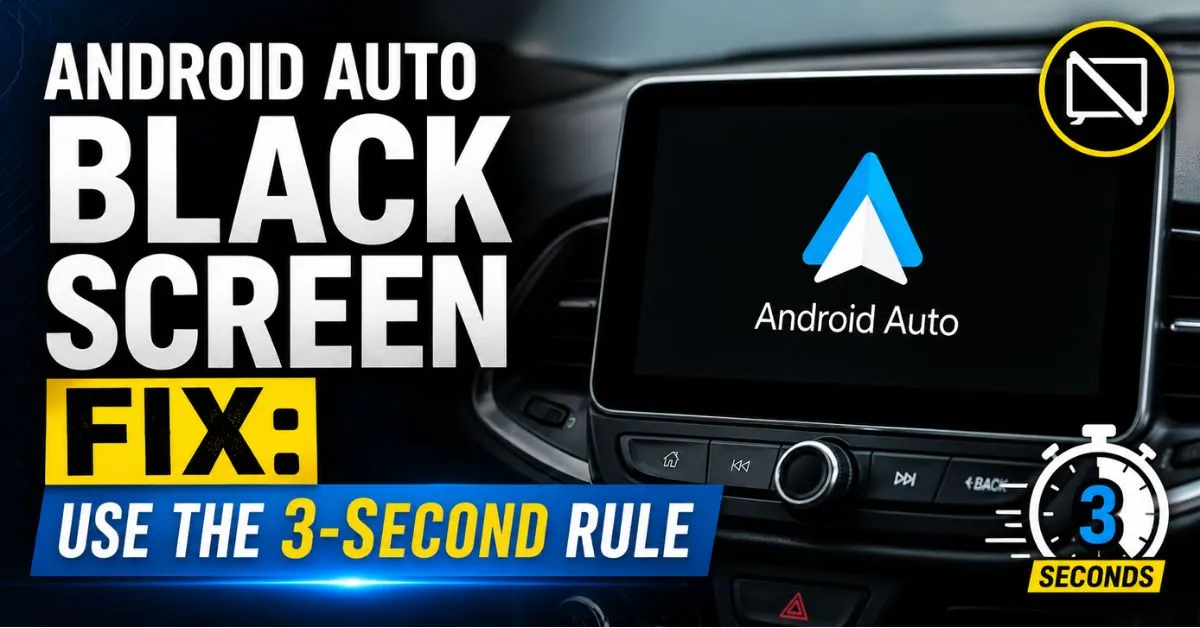
- Your Android Auto Screen Just Went Black? This Genius ‘3-Second Rule’ is Saving Drivers from the June Update Nightmare
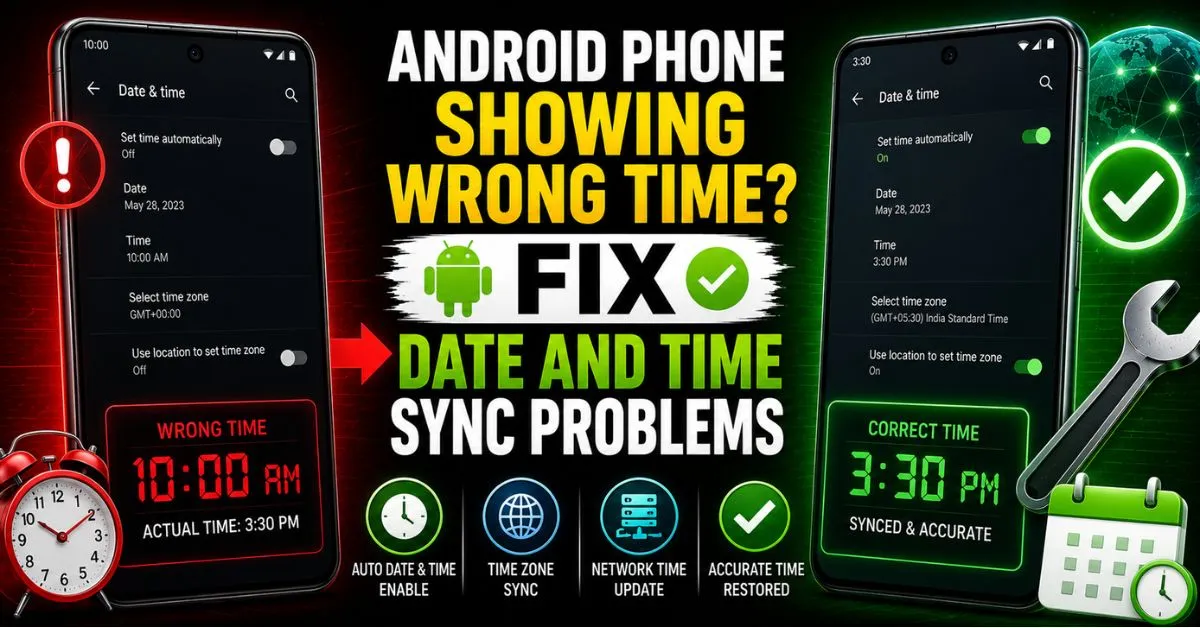
- Android Phone Showing Wrong Time? Fix Date and Time Sync Problems
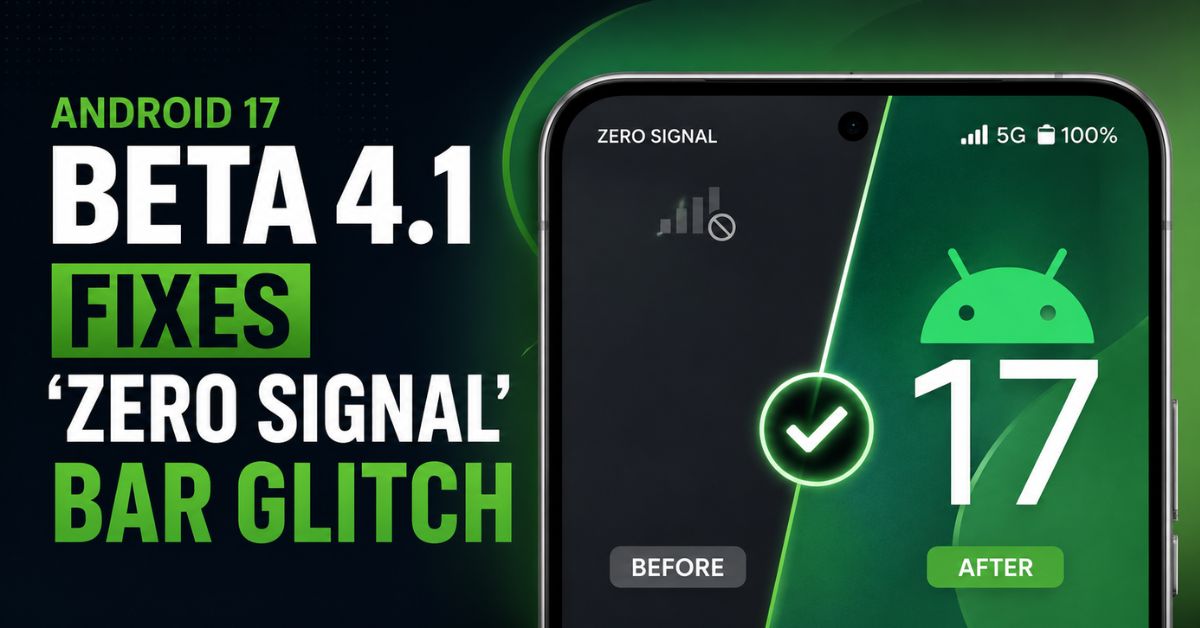
- Google Just Fixed the Scariest Android 17 Glitch: No, Your Phone Service Isn’t Actually Dead
- Android Auto’s Infamous June Black Screen is Back: This ‘3-Second Rule’ Fixes It Instantly
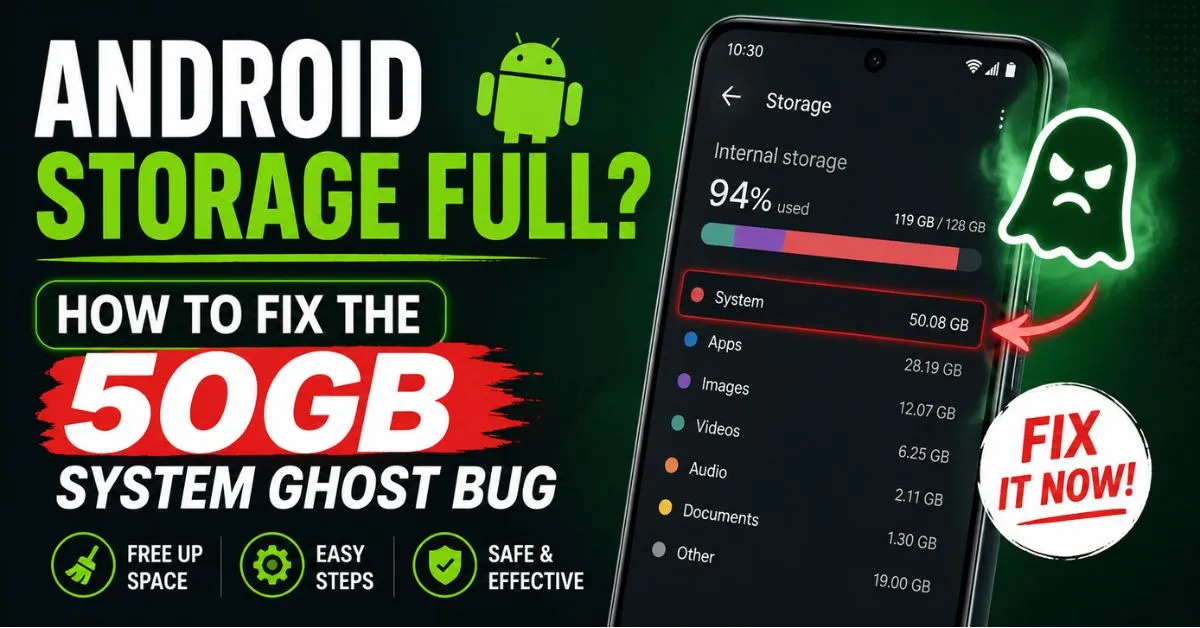
- Stop Deleting Your Photos: The 50GB Android ‘System’ Ghost Bug is Lying to You
But sometimes? Sometimes the logic fails. Maybe the Dalvik Cache (the bridge between the OS and apps) got mangled, or a specific system file didn’t write correctly due to a momentary hardware glitch.
First Response: Immediate Steps to Revive Your Phone
Don’t panic. The first thing I always do is try to force the hardware to ignore whatever state it’s stuck in.
The “Simulated Battery Pull”
Back in the day, we’d just rip the battery out. Now, we have to simulate it. On almost every modern Android device (Samsung, Pixel, OnePlus), holding Power + Volume Down for about 15 to 20 seconds will force a hard reboot. I’ve seen this simple “hardware reset” kick a phone out of a stuck installation screen more times than I can count.
Booting into Safe Mode
If your phone actually gets past the logo but crashes at the lock screen, try Safe Mode.
- Power the device off (if possible).
- Press Power. When the logo appears, immediately hold Volume Down until the OS loads. If it boots, a third-party app is clashing with the new update. Uninstall your most recent apps and try a normal reboot.
The PC Connection Test
This is my “sanity check.” Plug your phone into a PC. Does the computer make a “ding” sound? Open Device Manager on Windows. Do you see “Android Device,” “QUSB_BULK,” or “Qualcomm HS-USB QDLoader”? If your PC sees the device, there is a pulse. We can work with a pulse.
Using Android Recovery Mode Like a Pro
If the hard restart didn’t work, we need to go deeper into the Recovery Mode. This is a small, separate environment stored on its own partition, independent of the main Android OS.
Getting In (The Secret Handshake)
- Samsung: Turn it off. Connect to a PC via USB. Hold Power + Volume Up.
- Pixel: Hold Power + Volume Down. Use volume keys to select “Recovery Mode” and press Power. When the “No Command” robot appears, hold Power and tap Volume Up once.
- OnePlus: Hold Power + Volume Down.
Wiping the Cache Partition: The Non-Destructive Fix
In the Recovery menu, look for Wipe Cache Partition. Note: Many modern Android 11/12+ devices have removed this option as it’s handled differently now, but if you see it, use it. This deletes the temporary files used during the update process. It won’t touch your photos or messages. I call this the “hail mary” that actually works 20% of the time.

The “Mount System” Check
Inside some recovery menus, you’ll see an option to “Mount /system.” If you try this and get an error saying “Invalid Argument” or “Failed to Mount,” your system partition is likely corrupted. At this point, a Factory Reset might be the only way to clear the encrypted user data that’s blocking the boot.
Warning: A Factory Reset (Wipe Data) deletes everything. Photos, texts, everything. I only do this after I’ve exhausted all other options.
Pro Tip: The 50% Battery Rule Never, ever attempt a recovery or a manual flash if your battery is below 50%. If the phone dies while it’s writing to the Bootloader or Firmware partitions, you shift from a “Soft Brick” (fixable at home) to a “Hard Brick” (requires a motherboard replacement or specialized JTAG tools).
Advanced Recovery: Manual Firmware Reinstallation
If the Recovery Mode didn’t help, we have to manually shove the software back onto the phone. This is where we use ADB (Android Debug Bridge) and Fastboot.
Using ADB Sideload
If you can get into Recovery Mode, you can usually select “Apply update from ADB.”
- Download the official OTA image for your specific model on your PC.
- Connect the phone and run the command:
adb sideload [filename].zip. This effectively “re-installs” the update that failed, often fixing the corrupted files that caused the loop.
Flashing Factory Images
When things are really messy, we use manufacturer tools.
- Samsung & Odin: Samsung uses a proprietary tool called Odin. You’ll need to download the “Full Firmware” (consisting of BL, AP, CP, and CSC files).
- Expert Insight: Use the “HOME_CSC” file instead of the “CSC” file in the Odin slot if you want to try and preserve your data. The standard “CSC” file will wipe the device completely.
- Google Pixel & Fastboot: Pixels are much friendlier. You can use the Android Flash Tool (web-based) or manually run
flash-all.batfrom the factory image zip. This requires an unlocked Bootloader, which is a catch-22: you can’t unlock it if the phone won’t boot.
Real-World Scenarios and Pitfalls to Avoid
I’ve made plenty of mistakes so you don’t have to. Here are the things that usually trip people up.
The “Optimizing Apps” Fake-Out
I once thought my phone was boot-looping because it stayed on the logo for 20 minutes after an update. I forced a restart, and that is what actually corrupted the system. Some updates, especially those that change the Dalvik Cache structure, take an incredibly long time to “optimize” on the first boot. If the phone is warm to the touch, it’s working. Leave it alone for at least 45 minutes before giving up.
The Danger of Low Battery During Recovery
I’ve seen phones get stuck in a “Low Battery” loop where they try to boot, realize they don’t have enough juice, shut down, and then don’t have enough power to even charge properly. If your phone failed an update, plug it into a “dumb” low-voltage charger (like a PC USB port) for a few hours. Sometimes fast chargers can’t negotiate a handshake with a crashed OS.
Preserving Data with Custom Recovery
If you were smart enough to have TWRP (Team Win Recovery Project) installed before the update, you’re in luck. You can boot into TWRP, plug into a PC, and usually mount the internal storage to copy your files off before you do a clean flash of the Firmware.
Frequently Asked Questions
1. Will a failed OTA update void my warranty?
No. Since the update was official software provided by the manufacturer, a failure is considered a software fault. As long as you haven’t manually unlocked the bootloader or rooted the device, your warranty remains intact. If you can’t fix it using the steps above, the manufacturer is obligated to repair or replace it.
2. Can I recover my photos if the phone is stuck in a boot loop?
It depends. If your bootloader is locked (which is the default for 99% of users), your data is encrypted. You generally cannot access the files unless the OS boots. This is why Google Photos or Samsung Cloud backups are vital. If you can’t get into Safe Mode or use ADB Sideload to fix the OS, a factory reset will be necessary, which will erase the photos.
3. What is the difference between a Soft Brick and a Hard Brick?
A Soft Brick is a software error. The hardware is fine, but the instructions it’s being given are broken. You can usually fix this by flashing new firmware. A Hard Brick means the phone won’t even try to boot. It doesn’t respond to buttons, and it often happens because of a physical hardware failure (like the NAND flash memory dying) or a catastrophically failed low-level firmware write.
4. Why did my update fail even though I had enough space?
Space isn’t the only factor. Sometimes a “dirty” system (one with lots of leftover cache files or slight file system errors) can cause the patcher to fail a checksum verification. If the file being patched doesn’t match what the update expects exactly, the process aborts to prevent a total system crash—though sometimes it crashes anyway.
5. My phone says “No Command” with a dead Android icon. Is it dead?
Nope! That’s just the “waiting” screen for the Recovery Mode. On a Pixel, hold the Power button and tap Volume Up to reveal the actual menu. It looks scary, but it’s actually a sign that your Recovery Partition is still healthy and you have a very high chance of fixing the phone.
The bottom line? Updates are invasive surgeries for your phone’s brain. Most of the time they go well, but when they don’t, take a breath. Start with the “Simulated Battery Pull,” move to “Wiping Cache,” and only use the “Factory Reset” as a last resort. Your data is precious, but your phone is almost certainly salvageable.