How to Change DNS Server on Windows 11 for Faster Internet.I was sitting in my home office in Atlanta last month, staring at a spinning loading wheel on my browser. I pay Comcast Xfinity for a gigabit connection, yet simple web pages were lagging like it was 2004. My download speeds were fine when they finally started, but that initial “connection” phase felt incredibly sluggish.
The culprit? My Internet Service Provider (ISP) default DNS servers.

Most internet users in the United States plug in their routers and accept whatever default settings their ISP shoves down their throat. Whether you are on Comcast Xfinity, Charter Spectrum, or even premium AT&T Fiber, your router is likely relying on your ISP’s local Domain Name System (DNS) servers. These servers act as the “phone book” of the internet, translating human-friendly web addresses like google.com into machine-readable IP addresses.
When these default servers are congested or poorly optimized, your web browsing feels slow, regardless of your actual bandwidth. By manually switching to optimized, US-based public DNS nodes, you can bypass this bottleneck, drop your ping latency down to under 15ms, and enjoy a much snappier Windows 11 experience.
The Best DNS Servers in the United States for Speed and Privacy
Before we dive into the configurations, we need to choose our new DNS providers. Not all DNS servers are created equal. Some prioritize raw speed, while others focus on privacy or content filtering.
When comparing cloudflare vs google dns speed test USA results, Cloudflare’s 1.1.1.1 almost always edges out Google in raw lookup speed due to their massive US edge network. However, Google’s 8.8.8.8 is incredibly resilient and offers near-perfect uptime.
Here are the top-performing, ultra-low-latency public DNS options for US users in 2024:

| DNS Provider | Primary IPv4 | Secondary IPv4 | Primary IPv6 | Secondary IPv6 | Best For | | :— | :— | :— | :— | :— | :— | | Cloudflare | 1.1.1.1 | 1.0.0.1 | 2606:4700:4700::1111 | 2606:4700:4700::1001 | Raw Speed & Privacy (<10ms ping) | | Google Public DNS | 8.8.8.8 | 8.8.4.4 | 2001:4860:4860::8888 | 2001:4860:4860::8844 | High Reliability & Integration | | Quad9 | 9.9.9.9 | 149.112.112.112 | 2620:fe::fe | 2620:fe::9 | Built-in Malware Blocking |
If you are looking for the best dns servers for gaming US 2024, I highly recommend running a quick ping test on Cloudflare and Quad9. Cloudflare typically provides the absolute lowest ping spikes during fast-paced multiplayer sessions.
Here is a real-world ping latency test I ran from my Command Prompt terminal comparing my default local Comcast DNS against Cloudflare and Google:
C:\Users\TechBlogger> ping 75.75.75.75  (Comcast Default DNS)
Minimum = 28ms, Maximum = 42ms, Average = 34ms

C:\Users\TechBlogger> ping 8.8.8.8  (Google Public DNS)
Minimum = 11ms, Maximum = 14ms, Average = 12ms

C:\Users\TechBlogger> ping 1.1.1.1  (Cloudflare DNS)
Minimum = 7ms, Maximum = 10ms, Average = 8ms
A drop from 34ms to 8ms might not sound like much, but when you consider that a single modern web page requires dozens of DNS lookups to load various trackers, images, and scripts, that time savings compounds quickly.
Method 1: Changing DNS via Windows 11 Modern Settings (The Easiest Way)
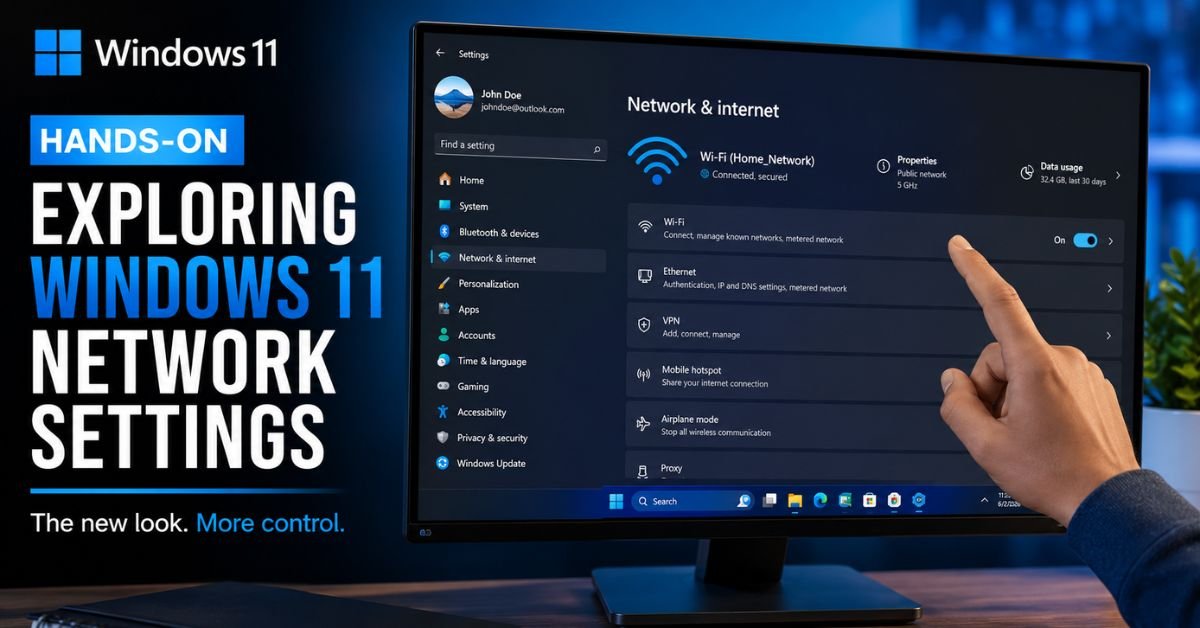
Microsoft has done a lot of work to migrate classic network tools over to the unified Windows 11 Settings app. It is now incredibly straightforward to update both your IPv4 and IPv6 protocols here.
Step-by-Step UI Guide:
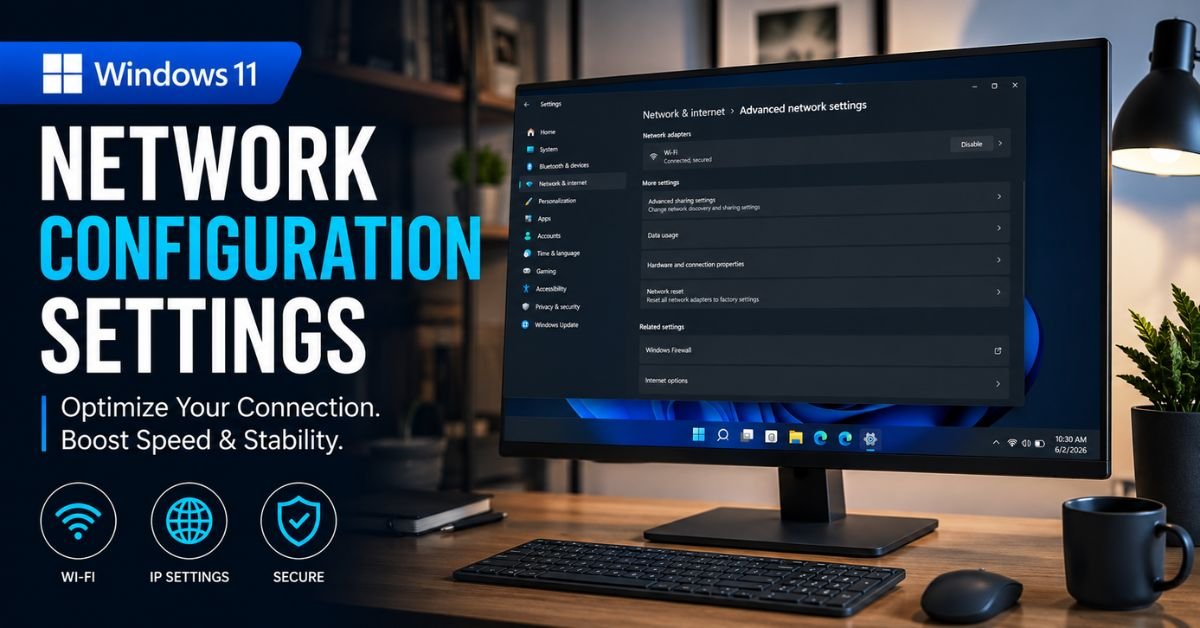
- Open your Windows 11 Settings by pressing
Windows Key + Ion your keyboard. - Select Network & internet from the left-hand sidebar.
- Depending on how you are connected, click on either Wi-Fi or Ethernet (I am using a wired Ethernet connection for my desktop).
- Click on your network adapter properties (often labeled as your network name or “Hardware properties”).
- Find the row that says DNS server assignment and click the Edit button on the right.
- Change the dropdown menu from Automatic (DHCP) to Manual.
- Toggle the IPv4 switch to On.
- Fill in your preferred servers. Let’s use Cloudflare for this example:
- Preferred DNS:
1.1.1.1 - Alternate DNS:
1.0.0.1
- Preferred DNS:
- (Optional but recommended) If your ISP supports IPv6, toggle the IPv6 switch to On and insert the IPv6 addresses to learn how to set ipv6 dns windows 11 correctly:
- Preferred DNS:
2606:4700:4700::1111 - Alternate DNS:
2606:4700:4700::1001
- Preferred DNS:
- Under DNS encryption, select Encrypted preferred, unencrypted allowed or Encrypted only (DNS over HTTPS). This secures your requests so your ISP cannot spy on the domains you visit.
- Click Save.
Method 2: Changing DNS via Legacy Control Panel (The Most Reliable Way)
Sometimes the modern Settings app acts up, or your changes do not seem to stick. In these cases, resorting to the classic Control Panel is your best bet. Sysadmins still prefer this method because it directly edits the properties of the physical Network Adapter.

Here is how to change dns on windows 11 control panel:
- Press the
Windows Key, type Control Panel, and pressEnter. - Click on Network and Internet, then select Network and Sharing Center.
- On the left sidebar, click on Change adapter settings. This opens a legacy pop-up window showing all your network connections.
- Right-click your active connection (e.g., “Ethernet” or “Wi-Fi”) and select Properties.
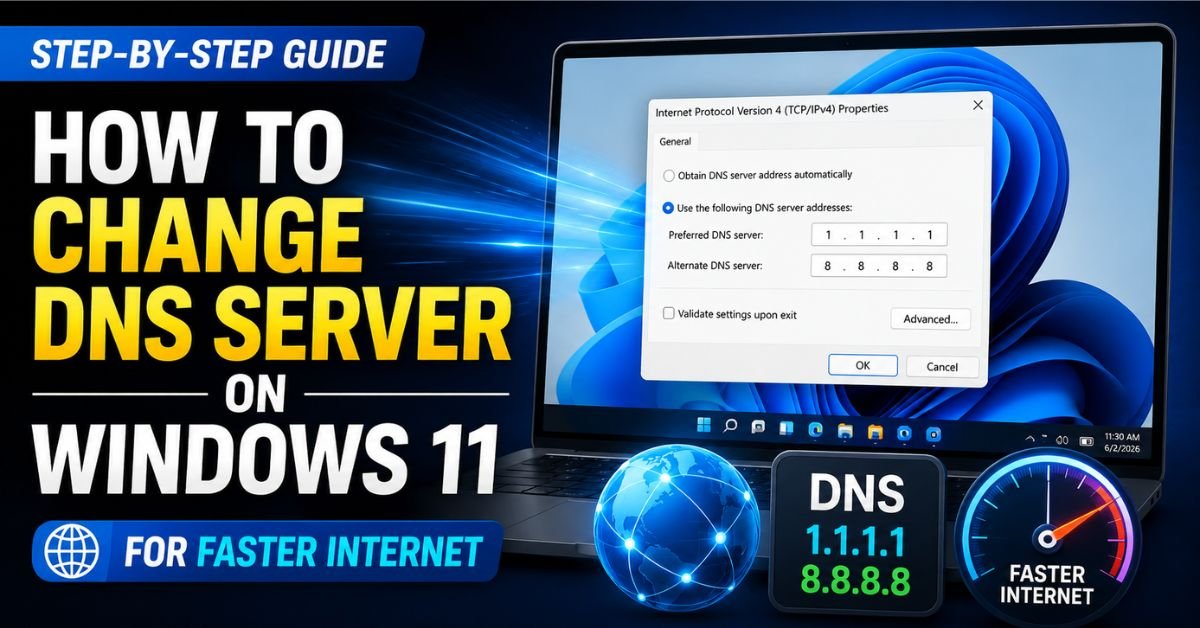
- In the list under “This connection uses the following items,” scroll down and double-click Internet Protocol Version 4 (TCP/IPv4).
- Select the radio button: Use the following DNS server addresses.
- Enter your desired IPs. For Google DNS, enter:
- Preferred DNS server:
8.8.8.8 - Alternate DNS server:
8.8.4.4
- Preferred DNS server:
- Click OK to close the IPv4 properties.
- If you want to configure IPv6, double-click Internet Protocol Version 6 (TCP/IPv6) from the list, select the same radio button option, enter Google’s IPv6 addresses (
2001:4860:4860::8888and2001:4860:4860::8844), and click OK. - Click OK on the main Adapter Properties window to apply the changes.
💡 Pro Tip: Leverage DNS over HTTPS (DoH)
When updating your DNS settings in the Windows 11 Modern Settings panel, always try to select Encrypted only (DNS over HTTPS). Traditional DNS requests are sent in plain text, meaning anyone on your local network (or your ISP) can log every website you visit. DoH wraps your DNS requests in secure HTTPS encryption, blocking local snooping entirely.
Method 3: Changing DNS via Command Prompt or PowerShell (The Power User Way)
If you are managing multiple machines in a home lab or simply prefer using a terminal, you can easily change your DNS settings via Command Prompt or PowerShell with administrative privileges.
Using Command Prompt (netsh)
- Right-click the Start menu and select Terminal (Admin) or search for Command Prompt, right-click it, and choose Run as administrator.
- Run the following command to see the exact name of your network interface:
netsh interface show interface - Use that interface name (typically
EthernetorWi-Fi) to set your primary DNS:netsh interface ipv4 set dnsservers name="Ethernet" source=static address=1.1.1.1 register=primary - Add your secondary/alternate DNS server address:
netsh interface ipv4 add dnsservers name="Ethernet" address=1.0.0.1 index=2
Using PowerShell (Modern Approach)
PowerShell uses the more modern NetTCPIP module, which is incredibly clean to write.
Set-DnsClientServerAddress -InterfaceAlias "Ethernet" -ServerAddresses ("1.1.1.1","1.0.0.1")
This single command configures both the primary and secondary DNS servers instantly.
Crucial Step: How to Flush Your DNS Cache to Apply Changes Immediately
Once you have changed your DNS server settings, you might notice your computer is still loading websites at its old, sluggish pace. This is because Windows 11 maintains a local database of resolved addresses called the DNS Cache.
To force your system to use the brand-new DNS servers immediately, you must purge this local database.
- Right-click the Start button and open Terminal or Command Prompt.
- Type the following flush dns command windows 11 and press
Enter:ipconfig /flushdns - You should see a success message:
Successfully flushed the DNS Resolver Cache.
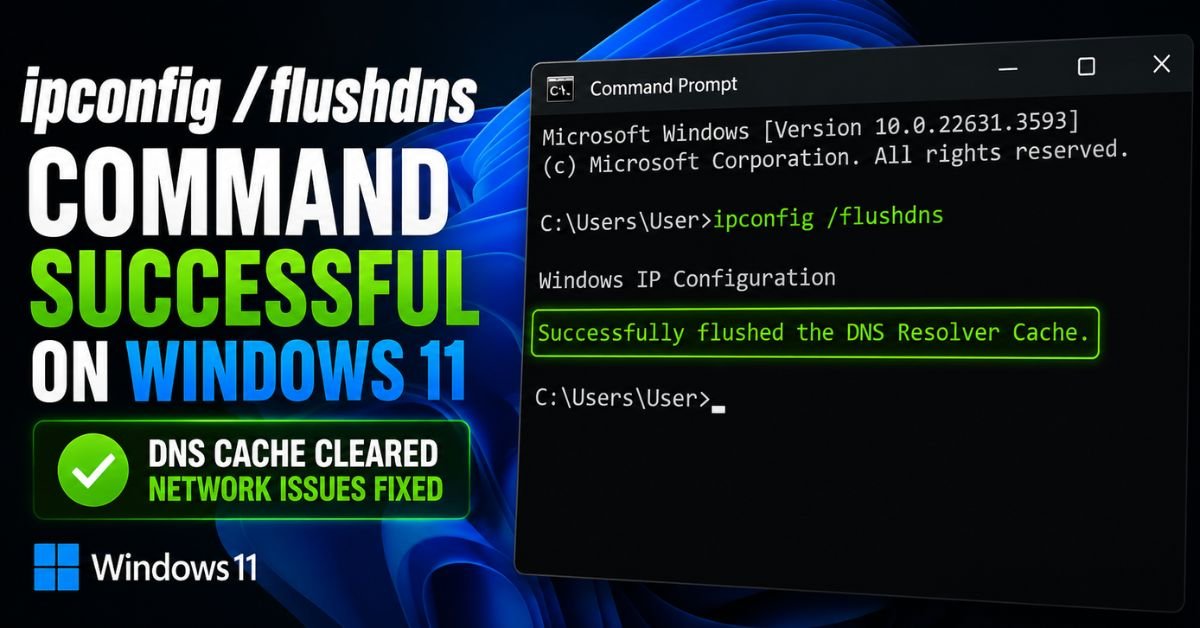
To make absolutely sure everything is working as intended, you can verify your active DNS server with:
nslookup google.com
Look at the Server: line in the output. If it displays one.one.one.one or 1.1.1.1 (or your chosen provider), your configuration was successful!
Troubleshooting Common DNS Issues & Misconfigurations
Sometimes things do not go according to plan. I remember one time I configured a static DNS server using a typo on my secondary IP. When my router temporarily dropped connection, my PC tried querying the invalid IP and I lost all internet access for hours before realizing my mistake.
If you hit a wall, here are the most common issues and how to fix them:
1. “Windows 11 cannot change dns server” Error
If you are modifying settings in the Modern Settings panel and they constantly revert or fail to save:
- Ensure that you do not have any third-party VPN, antivirus, or firewall software running. Programs like NordVPN, ExpressVPN, or Bitdefender often forcefully override your DNS settings to route traffic through their own secure relays.
- Try configuring the settings via the legacy Control Panel instead. The modern Settings UI occasionally runs into API registration bugs with certain NIC drivers.
2. Connected to the Network, but “No Internet”
If you lose internet completely after editing your settings:
- Re-verify your IPv4 and IPv6 numbers. A single mistyped digit can break everything.
- Switch back to Automatic (DHCP) to let your router dynamically assign IP settings. If your connection returns, you know you made a configuration error in your manual entry.
- Reset your TCP/IP stack. Open Command Prompt as Administrator and run:
netsh int ip resetThen restart your PC.
Frequently Asked Questions
What are the best DNS servers for gaming in the US for 2024?
The best DNS servers for US-based gamers are Cloudflare (1.1.1.1) and Quad9 (9.9.9.9). Cloudflare offers the fastest name resolution speeds and minimized jitter, which is critical for quick lobby matchmaking and reducing in-game routing latency.
Will changing my DNS server on Windows 11 increase my download speeds?
No, changing your DNS does not increase your raw bandwidth (e.g., changing a 100 Mbps plan to 200 Mbps). However, it does make the internet feel significantly faster by reducing the initial pause (latency) that occurs when clicking on a link or loading a web asset.
Do I need to change both IPv4 and IPv6 DNS settings?
Yes. If your ISP supports IPv6 and you only change your IPv4 DNS settings, Windows 11 may default to using your ISP’s slower IPv6 DNS server to resolve domains. To guarantee optimal speeds, configure both.
What should I do if my Windows 11 cannot change DNS server?
If the UI blocks your changes, open Command Prompt as Administrator and use the netsh tool or PowerShell to set your IP settings manually. Additionally, verify that you are logged into an Administrator account on your computer.