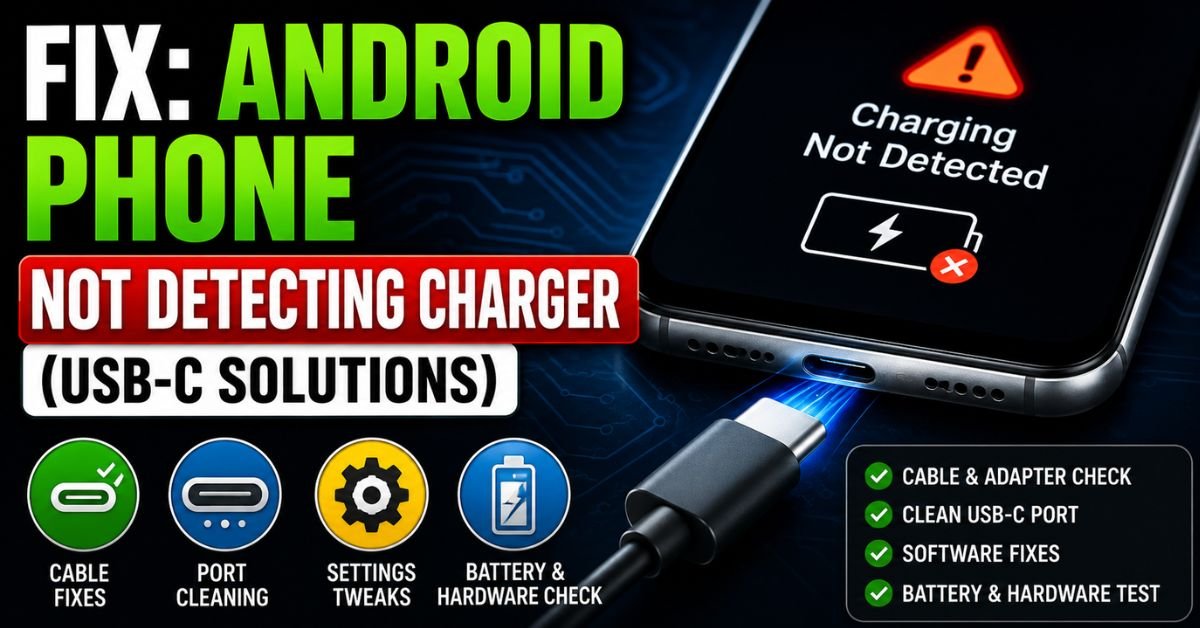
Fix: Android Phone Not Detecting Charger (USB-C Solutions).I’ve been sitting at my tech workbench for the better part of a decade, and if I had a dollar for every time someone handed me a “dead” Galaxy or Pixel that just needed a five-minute grooming session, I’d be writing this from a beach in Fiji.
There is a specific kind of panic that sets in when you plug your Android phone in at 2% battery and… nothing. No chime. No vibration. Just a cold, dark screen staring back at you. Before you start looking up the trade-in value or mourning your lost photos, let me tell you something I’ve learned from over 100 hours of bench-testing these devices: it is rarely a “dead” phone. More often than not, it’s a physical or handshake communication failure in the USB-C ecosystem.
USB-C was supposed to be the “one port to rule them all,” but its design—a hollow center with a thin wafer of pins—makes it a magnet for trouble. Today, we’re going to walk through exactly how I diagnose these issues in my shop, from the “pocket lint menace” to the complexities of USB-PD (Power Delivery) handshakes.
The Diagnostics: Why Your Phone Isn’t Responding
When a phone stops charging, we need to differentiate between a total hardware blackout and what I call “Ghost Charging.”
Identifying ‘Ghost Charging’ vs. Complete Failure
Ghost charging is when your phone shows the charging icon, but the percentage either stays stagnant or, infuriatingly, goes down. This usually points to a Wattage or Ampere mismatch. Your phone is receiving just enough juice to trigger the software notification, but not enough to actually overcome the power draw of the screen and background processes.
A complete failure, where there is zero reaction from the device, usually means the circuit isn’t being completed. This is where we start the physical investigation.
The ‘Wiggle Test’
I do this with every device that hits my desk. Plug in your OEM cable and give the connector a very gentle—and I mean gentle—wiggle.
- If it feels “mushy”: There is likely debris compacted at the bottom of the port.
- If it clicks into place but disconnects when moved: The internal spring clips in the cable are worn out, or the port’s “tongue” is slightly bent.
- If the port itself moves inside the phone: You’re looking at a detached circuit board connection. This isn’t a cleaning fix; it’s a soldering job.
Why USB-C is More Prone to Debris
Remember Micro-USB? It was flimsy, but it was a “male” connector on the cable entering a “female” hole. USB-C is more complex. It has a tiny, fragile “tongue” in the middle of the port that holds 24 pins. When you shove your phone into your jeans, that port acts like a vacuum. Every time you plug in your charger, you aren’t just charging; you’re tamping down a layer of lint, skin cells, and dust into a hard, non-conductive “cake” at the bottom of the port.
The Pocket Lint Menace: Deep Cleaning Your Port Safely
I cannot stress this enough: Never, under any circumstances, stick a metal needle, safety pin, or SIM tool into your charging port.
I’ve seen dozens of DIY “fixes” end in a shower of sparks because a metal needle shorted the VBUS pin (power) to a ground pin. You are dealing with a Lithium-ion battery; shorting it out is a recipe for a thermal event (a fancy word for a fire).
The Flashlight Inspection
Grab the brightest light you have. Peer into the port. You should see the bottom of the port—it should be a flat, metallic surface surrounding the center tongue. If it looks dark, fuzzy, or uneven, you’ve got a lint floor.
Step-by-Step: The Safe Cleaning Method
- Power Down: Turn the phone off completely. It’s a safety habit I swear by.
- The Tool: Use a wooden toothpick or a specialized plastic fine-point pick. I often whittle a toothpick down with a hobby knife to make it even thinner.
- The Technique: Gently “sweep” around the center tongue. Do not press hard against the tongue itself; you only want to scrape the “floor” of the port.
- The Reveal: You’ll be shocked at what comes out. I’ve pulled out chunks of lint the size of a grain of rice that were so compressed they felt like felt fabric.
- Isopropyl Alcohol: If you see green or white crust (Corrosion), dampen (don’t soak) your plastic pick in 99% Isopropyl Alcohol. It evaporates instantly and can break up minor oxidation from moisture exposure.
Pro Tip: Why compressed air is a trap. Most people reach for a can of air first. Don’t. Compressed air usually just jams the debris further into the corners or, worse, freezes the delicate moisture seals inside the phone, potentially causing them to crack. Use air only after you’ve loosened the debris with a pick.
Cables and Bricks: Testing the Power Supply Chain
If the port is clean but the phone is still dead, we move to the “Power Supply Chain.”
The Danger of ‘Gas Station’ Cables
I’ve tested hundreds of cheap cables, and the results are terrifying. Many lack the necessary resistors to tell the phone how much power to pull. A “dumb” cable can attempt to pull too much Ampere, causing the phone’s thermal management to shut down the charging circuit entirely as a safety precaution.
Understanding Power Delivery (PD)
Modern Androids (Pixels and newer Galaxies) use Power Delivery (USB-PD). This is a digital “handshake.” When you plug in, the phone and the brick actually talk to each other.
- Phone: “I can take 25 Watts.”
- Brick: “I can only give 15 Watts.”
- Phone: “Okay, let’s settle on 15.”
If you’re using a high-quality OEM cable but a cheap, non-PD-compliant brick, that handshake fails. The phone defaults to a “trickle charge” (0.5A), which might not even be enough to wake a dead battery. Always test with a known 18W+ PD-compliant charger before giving up.
Software Glitches: When the OS Ignores the Charger
Sometimes, the hardware is fine, but the Android OS has “decided” not to charge. This is often due to a corrupted USB Settings service or a third-party app misbehaving.
Booting into Safe Mode
This is my go-to move for software diagnostics. Safe Mode disables all third-party apps.
- Hold the Power button.
- Long-press the “Power Off” icon on the screen until “Reboot to Safe Mode” appears. If the phone charges perfectly in Safe Mode, one of your apps (usually a battery “optimizer” or a sketchy game) is interfering with the charging driver.
Clearing the Cache Partition
If your phone was recently updated to a new version of Android and charging became intermittent, your Cache Partition might be the culprit. This doesn’t delete your data; it just clears out temporary system files that can get “stuck.”
- Turn off the phone.
- Hold Volume Up + Power until the recovery menu appears.
- Use volume keys to select “Wipe Cache Partition.”
- Reboot.
The “Moisture Detected” Loop
USB-C ports have a sensor that detects moisture to prevent Corrosion. Sometimes this sensor gets stuck in a “false positive” loop even when the port is dry.
- The Fix: Go to Settings > Apps > See all apps > Tap the three dots (top right) > Show System. Find “USBSettings”, tap it, go to Storage, and Clear Data. This resets the sensor’s logic.
Expert Insight: If you’re a power user, buy a “USB-C Power Meter” (they cost about $15). It’s a tiny dongle that shows exactly how much Wattage and Ampere are flowing into your device. It takes the guesswork out of “is it the cable or the phone?” If the meter shows 0.00V, the circuit is physically broken. If it shows 5V but 0A, the handshake is failing.
Hardware Failure: When Cleaning Isn’t Enough
If you’ve cleaned the port, tried an OEM PD charger, and cleared the system cache, but you still have no luck, we have to look at the internal hardware.
Symptoms of a Detached Port
If you have to hold the cable at a specific upward angle to get a charge, the solder joints connecting the USB-C port to the circuit board have likely cracked. This happens from “stress-charging”—using the phone while it’s plugged in and resting the weight of the phone on the cable connector.
Water Damage Indicators
Look inside the SIM tray slot with a flashlight. You’ll see a tiny sticker (the LCI). If it’s pink or red, water has entered the chassis. Water doesn’t just cause shorts; it causes Corrosion that eats away at the microscopic traces on the board. If you see green crust inside the port that won’t come off with alcohol, the port assembly likely needs a full replacement.
DIY vs. Professional Repair
Most modern Android phones (especially the Galaxy S-series) have the USB port on a separate “daughterboard.” This is a relatively easy DIY fix if you’re comfortable opening the phone. However, if the port is soldered directly onto the main motherboard (like in many budget models), you’ll need a pro with a hot-air rework station.
Frequently Asked Questions
1. Can a dead battery cause the phone not to detect a charger?
Yes. If a Lithium-ion battery drops below a certain voltage threshold (deep discharge), the charging protection circuit might prevent it from accepting a charge to avoid an explosion. In the shop, we “jump-start” these batteries by applying a direct current, but for a home user, leaving it on a low-wattage (5W) charger for 24 hours can sometimes “trickle” it back to life.
2. Is it safe to use wireless charging if my USB-C port is broken?
Absolutely. Wireless charging bypasses the USB-C port and the daughterboard entirely, sending power directly to the battery via induction coils. It’s a great “band-aid” fix, though it’s slower and generates more heat.
3. Why does my phone say “Charging Slowly” even with the original brick?
This is usually a sign of a high-resistance connection. Either the cable has internal micro-breaks, or there is still a thin layer of oxidation or dirt in the port. Try the Isopropyl Alcohol cleaning method mentioned above to lower the resistance.
4. Can a software update fix a charging port issue?
Rarely, but it happens. If a manufacturer discovers a bug in the Power Delivery controller firmware, they might push an OTA (Over-The-Air) update. However, if your phone is already dead, you obviously can’t update it. Always check for system updates if your charging starts acting “glitchy” but still works.
5. My charger gets extremely hot when plugged in. Should I be worried?
A little warmth is normal, especially with Fast Charging. However, if the metal tip of the USB-C cable is too hot to touch, stop immediately. This indicates a partial short-circuit—likely due to a bent pin in the port or a compromised cable—and it can melt the internals of your phone.