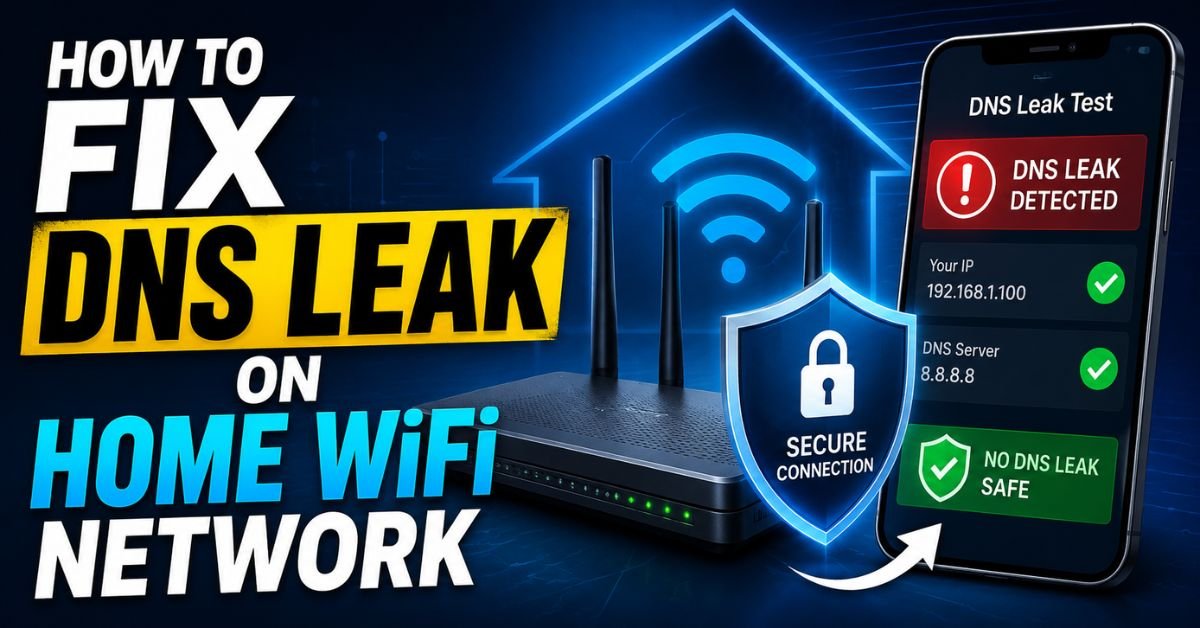
How to Fix DNS Leak on Home WiFi Network.Let’s paint a picture. I was sitting in my home lab last month, sipping cold brew, running a routine security audit on my network traffic. I had my trusted premium Virtual Private Network (VPN) active on my MacBook Pro. Standard procedure, right? I decided to fire up Wireshark to inspect my packet outputs just to be sure. What I saw made me spit my coffee right across the desk. Despite my VPN client showing a solid, green “Connected” status, my raw Domain Name System (DNS) queries were sailing straight out of my local network to Comcast Xfinity’s native gateways in cleartext.
My VPN was active, but my traffic’s destination requests—the lookups that translate “google.com” into an IP address—were completely exposed. This is a classic DNS leak.

Why should you care? Because even if your actual web traffic is encrypted, a DNS leak allows your Internet Service Provider (ISP)—whether it’s Comcast Xfinity, Charter Spectrum, AT&T, or Verizon Fios—to build a complete, chronological log of every single website you visit. Thanks to loose US digital privacy standards and FCC guidelines, your local telecommunications providers can legally track, log, and package your metadata logs for advertising profiles without your explicit, opt-in consent. They do this through aggressive DNS redirection practices. Your secure VPN tunnel is essentially useless if your computer bypasses it to ask your ISP’s servers how to find your destination.
Step-by-Step Instructions to Test for DNS Leaks on Home WiFi (No Tech Degree Required)
Before we change any settings, we need to answer a simple question: how do i know if my dns is leaking?
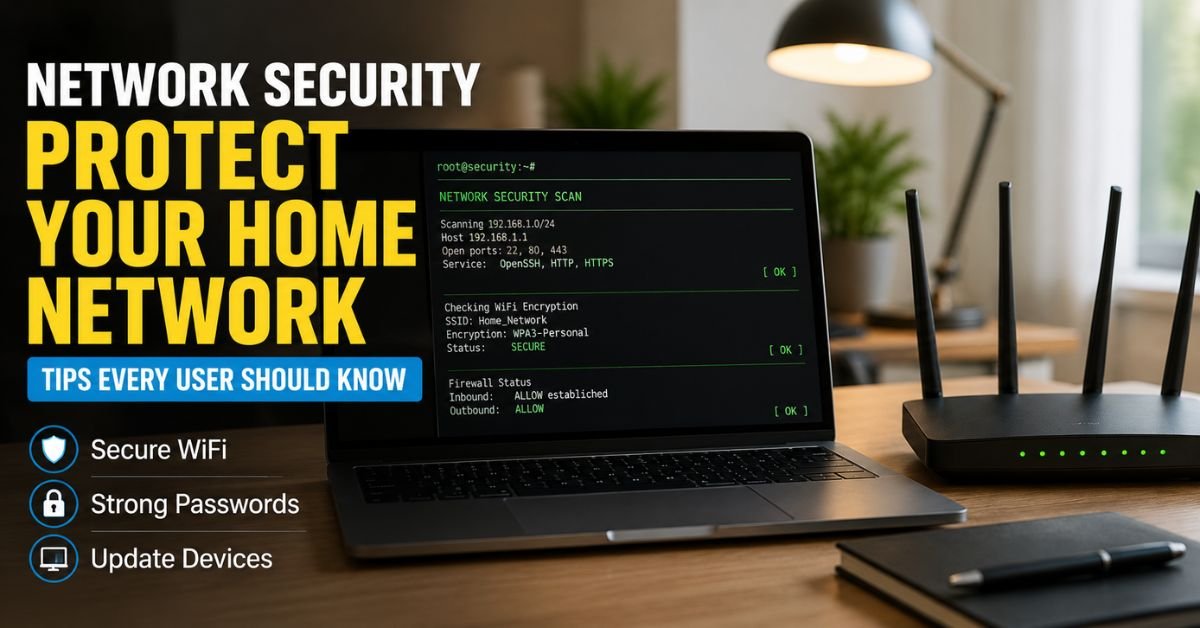
The easiest way is to run a basic browser-based check, but as a network security administrator, I recommend a dual-approach: one web test and one command-line confirmation to eliminate any cached false-negatives.
The Quick Browser Test
- Turn on your VPN on your computer or mobile device.
- Open your browser and navigate to a trusted diagnostic site. (I prefer running a search for how to run dns leak test or going directly to dnsleaktest.com).
- Click the Standard Test or Extended Test button.
- Analyze the results. If you see servers belonging to Comcast, Spectrum, AT&T, or your local telecom company, your DNS is leaking. If you only see servers owned by your VPN provider or a secure resolver like Cloudflare, your tunnel is secure.
+--------------------------------------------------------+
|                  DNS LEAK TEST RESULTS                 |
+--------------------------------------------------------+
| IP: 198.51.100.45                                      |
| Hostname: xfinity-customer-md-baltimore.net            |  <-- LEAK DETECTED!
| ISP: Comcast Cable Communications                      |
+--------------------------------------------------------+
The Terminal / Command Line Method (The Ground Truth)
To bypass any browser caching tricks, open your command prompt (Windows) or Terminal (macOS/Linux) and run a direct lookup query to see which server is resolving your requests.
On Windows 11, type: nslookup google.com

On macOS or Linux, run: dig google.com
Look closely at the “Server” or “SERVER” output in the response. If it lists your local router’s gateway IP (like 192.168.1.1 or 10.0.0.1) and your router is configured to use your ISP’s default servers, your queries are passing through your local telecommunications provider. If it lists an internal VPN loopback address or a custom secure DNS server you explicitly set, your network is behaving correctly.
How to Fix DNS Leaks: Router-Level vs. Device-Level Configurations Explained
When it comes to patching these holes, you have two choices: fix it at the router level (securing every device in the house) or fix it on your individual device.
The Router-Level Battle (and the ISP Problem)
If you want a blanket fix, you need to change your router’s default DNS settings. But if you have standard ISP equipment, you are going to hit a wall. For example, learning how to change dns on xfinity router or Spectrum-provided gateways is a massive headache because these providers often lock down their proprietary router firmware. They want you using their DNS servers so they can harvest your browsing telemetry.
If you are on Spectrum and wondering, “why is my vpn leaking dns on spectrum wifi?”, it is often because their “Smart WiFi” features force devices back to Spectrum’s native DNS servers using aggressive DHCP overrides.
To achieve a proper comcast router secure dns setup or override Spectrum’s defaults, your best bet is to purchase your own standalone router (like an Asus or Netgear Nighthawk), put your ISP’s gateway into “Bridge Mode,” and configure your custom router’s DHCP server to broadcast the best private dns servers usa.
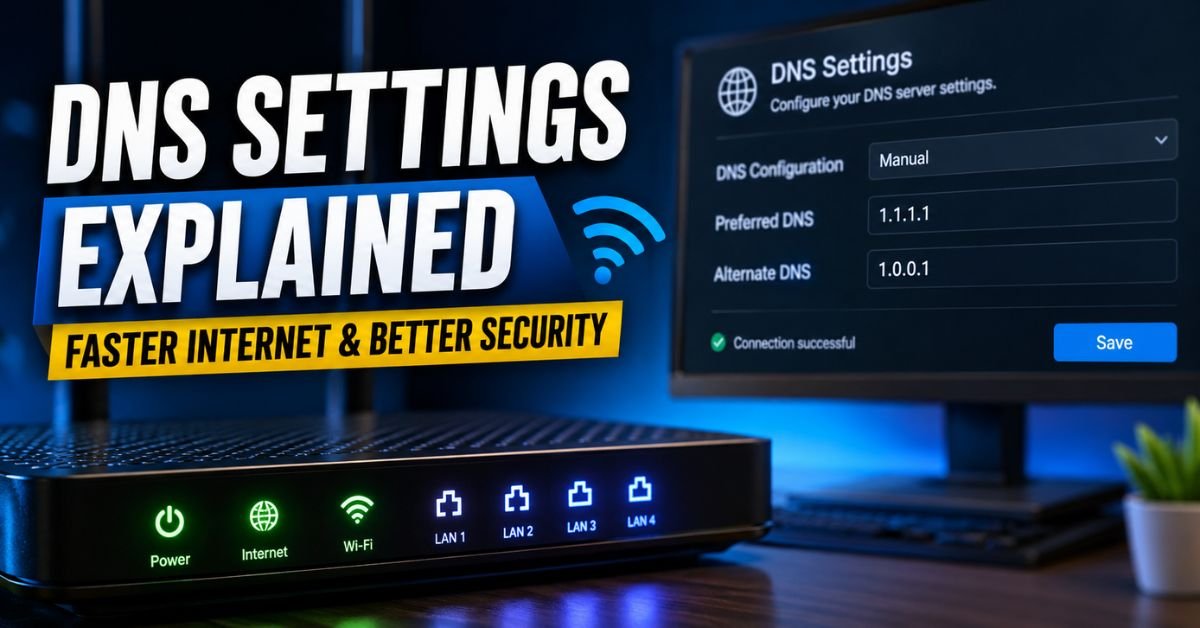

Configuring Custom DNS Servers on your Router
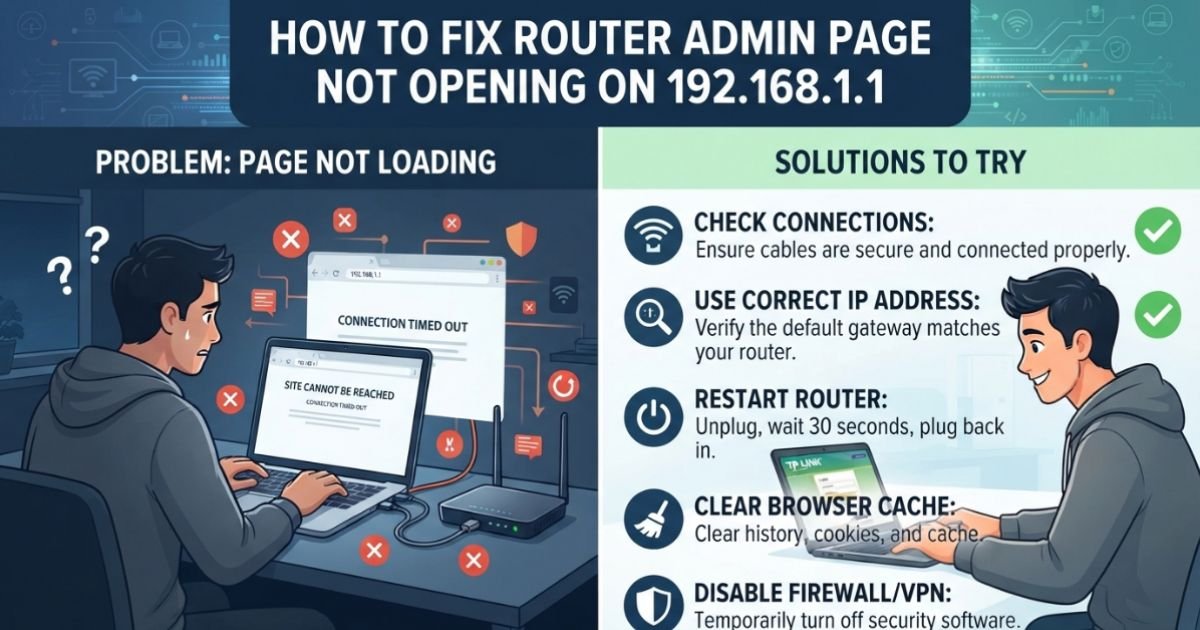
Once inside your custom router’s admin panel (usually accessed via 192.168.1.1 or 192.168.0.1):
- Navigate to the WAN or LAN settings, specifically looking for DNS Server or DHCP Server options.
- Toggle the setting from “Get DNS Automatically from ISP” to “Use these DNS Servers”.
- Input the lowest-latency US-based DNS resolvers:
- Cloudflare Public DNS: Primary
1.1.1.1, Secondary1.0.0.1(Excellent for low latency across the United States). - Google Public DNS: Primary
8.8.8.8, Secondary8.8.4.4(Highly reliable backup option). - Quad9: Primary
9.9.9.9(Focuses on blocking malicious domains at the DNS level).
- Cloudflare Public DNS: Primary
- Save your settings and reboot your router.
Windows-Specific Fixes: Taming the Teredo Interface and Disabling IPv6 Leak Paths
Windows 11 is notoriously chatty and aggressively tries to optimize its network performance, often at the expense of your privacy. If you are trying to figure out how to fix dns leak windows 11, you have to tackle two distinct Windows built-in features: IPv6 leak paths and Teredo tunneling.
Disable IPv6 to Stop DNS Leaks
Most VPNs only tunnel IPv4 traffic. If your ISP assigns you a native IPv6 address (very common with Comcast and Verizon Fios), Windows will happily route your IPv6 DNS queries outside of your VPN’s IPv4 tunnel.
Here is how to disable IPv6 to stop dns leaks permanently:
- Press
Win + R, typencpa.cpl, and hit Enter to open Network Connections. - Right-click your active WiFi or Ethernet adapter and select Properties.
- Scroll down to Internet Protocol Version 6 (TCP/IPv6) and uncheck the box.
- Click OK to apply. This immediately forces Windows to route all traffic through IPv4, which your VPN can successfully encrypt.
[ Active Network Adapter ]
      |
      +--> IPv4 (Checked) ---> [ VPN Encrypted Tunnel ] ---> Secure Web
      |
      +--> IPv6 (Unchecked) -> [ Disabled (Prevents ISP Leaks) ]
Killing the Teredo Tunneling Interface
Teredo is an IPv6 transition technology built into Windows that can bypass your local firewall and leak queries. Let’s disable it using PowerShell.
- Right-click the Start menu and open Terminal (Admin) or PowerShell (Admin).
- Type the following command and hit Enter:
netsh interface ipv6 set teredo disable - To verify it is gone, type:
netsh interface teredo show state - The state should report as “disabled.”
macOS and Linux Quick Fixes: Changing Terminal DNS Configurations and Network Preferences
Apple’s macOS handles network priority much better than Windows, but it is still vulnerable to leaks if your VPN client crashes or fails to clear the system’s DNS cache.
On macOS:
- Open System Settings > Network > Wi-Fi (or your active connection).
- Click Details… next to your network, then head to the DNS tab.
- Click the
+icon and add Cloudflare’s primary endpoints:1.1.1.1and1.0.0.1. - Delete any grayed-out ISP DNS addresses if macOS allows you to do so, or simply drag your new custom servers to the top of the priority list.
On Linux (Ubuntu/Debian-based):
Linux network management can sometimes conflict with VPN systemd-resolved services. You can force-configure your DNS servers directly in the terminal:
sudo nano /etc/resolv.conf
Replace the existing nameserver lines with:
nameserver 1.1.1.1
nameserver 1.0.0.1
Save the file (Ctrl + O, then Ctrl + X). Note that some network managers might overwrite this file on reboot; to prevent this, you may need to write-protect it using sudo chattr +i /etc/resolv.conf or manage it via your Netplan configuration files.
Common Pitfalls to Avoid: Free VPN Risks, Forgotten WebRTC Leaks, and DNS Cache Issues
During my years managing network systems, I have seen users implement perfect DNS configurations only to remain completely exposed due to a few common, easily overlooked mistakes.
1. Using Low-Quality or Free VPNs
Many free VPN apps lack built-in DNS leak protection mechanisms. They fail to bind to your network adapters correctly or lack a “Kill Switch” that stops traffic if the VPN drops. Stick to reputable premium providers that offer dedicated leak protection options within their software settings.
2. The WebRTC Leak Trap
WebRTC (Web Real-Time Communication) is a browser technology that allows real-time audio and video streaming. It can bypass your VPN and reveal your true, ISP-assigned IP address and local DNS servers directly to websites you visit.
- The Fix: Install a browser extension like “WebRTC Control” or manually disable WebRTC in Firefox by typing
about:configin the address bar, searching formedia.peerconnection.enabled, and setting it tofalse.
3. Forgetting to Flush Your DNS Cache
If you change your DNS servers but do not flush your local cache, your machine will keep using old, leaked paths stored in its memory.
- On Windows: Open Command Prompt and type
ipconfig /flushdns - On macOS: Open Terminal and run
sudo dscacheutil -flushcache; sudo killall -HUP mDNSResponder

Pro Tip (Expert Insight): If you are running a VPN and still seeing leaks, check if your VPN client supports “DNS over HTTPS” (DoH) or custom DNS configuration. Many modern VPN apps allow you to toggle on DoH, which wraps your DNS requests in a TLS layer, making it even harder for your local ISP to hijack or redirect your queries.
Next-Generation Home Security: Implementing Network-Wide Pi-hole or NextDNS Frameworks
If you want to move beyond basic consumer fixes and establish absolute control over your metadata, you should look into deploying a network-wide DNS sinkhole like Pi-hole, or a cloud-managed service like NextDNS.
A Pi-hole runs on a cheap Raspberry Pi or virtualized home-lab container. It acts as your local DHCP server and intercepts every single DNS query from every device in your house—including smart TVs, smart plugs, and smartphones that do not support VPN installations.
By pairing a Pi-hole with DNS over HTTPS (DoH), your DNS queries are encrypted before they even leave your local network. Even if Comcast or Spectrum intercepts your traffic at the physical coaxial or fiber line, all they see is encrypted HTTPS traffic destined for Cloudflare or Quad9. Your raw web browsing metadata remains entirely invisible to them, restoring the level of digital privacy you deserve on your home network.
Frequently Asked Questions
Why does my VPN leak DNS on Spectrum or Comcast WiFi?
Spectrum and Comcast configure their home routers to block custom DNS configurations in their firmware. They use aggressive DHCP parameters that force connected devices to route lookup queries through their proprietary DNS servers. This allows them to log your metadata even when you use a VPN if your VPN client is not configured to bind to all active interfaces or handle IPv6 queries properly.
Will disabling IPv6 slow down my home internet connection?
No. While IPv6 is the future of the internet, the vast majority of web content is still fully optimized for IPv4. Disabling IPv6 on your device to stop DNS leaks will have no noticeable impact on your browsing speeds, latency, or gaming performance on US networks.
What is the difference between a VPN leak and a DNS leak?
A VPN leak generally refers to your real IP address being exposed through traffic leaks or connection drops. A DNS leak is more subtle; your general internet traffic remains encrypted inside the VPN tunnel, but your website lookup queries (DNS) bypass the tunnel and go directly to your ISP, exposing the names of the websites you visit.
How do I stop DNS leaks on Android or iOS devices?
On Android, go to Settings > Network & Internet > Private DNS and input 1dot1dot1dot1.cloudflare-dns.com or your preferred secure DNS host. On iOS, go to your Wi-Fi settings, tap the information (i) icon next to your network, select Configure DNS, set it to Manual, and add 1.1.1.1 and 1.0.0.1.