How to Flush DNS Cache on Windows 11 to Fix Slow Websites.I was in the middle of a chaotic Tuesday morning, trying to log into a remote corporate VPN for a client based in Chicago, when my internet suddenly ground to a halt. Oddly, my iPhone, sitting right next to my mouse and connected to the exact same Comcast Xfinity Wi-Fi, was loading pages instantly. My Windows 11 workstation, however, was stuck in a agonizing loop, spinning indefinitely before throwing the infamous DNS_PROBE_FINISHED_NXDOMAIN error.
As a network administrator, I knew exactly what was happening. My PC’s local network map had become misaligned. In our work-from-home era, switching between home networks, corporate VPNs, and public Wi-Fi hotspots creates a digital traffic jam under the hood of Windows 11.

If you are dealing with sluggish page loads, server connection drops, or outright access failures, learning how to clear dns cache on computer setups is the absolute fastest, zero-risk troubleshooting step you can take. Let’s dig into how this works and get your connection back up to speed.

1. The Hidden Bottleneck Behind Slow Windows 11 Browsing
We often blame our Internet Service Providers (ISPs) like Spectrum or AT&T Fiber when a page fails to load. We run speed tests, reboot our modern Wi-Fi 6 routers, or pace around the room waiting for the signal bars to jump. Yet, the bottleneck is frequently sitting inside your computer’s temporary memory.
When you type a web address into your browser, Windows 11 doesn’t automatically know where that website lives in the physical world. It needs an IP address—a long string of numbers.
To save time and avoid asking the directory every single second, your operating system saves a local copy of these destinations. This temporary storage locker is called the DNS Cache.
But what happens when a website moves to a new server, or your corporate VPN changes its routing protocols? Your computer keeps trying to use the old map. This results in agonizingly slow load times or completely broken pages.

By performing a flush, you force Windows 11 to throw out the outdated directory and grab a fresh, accurate map. It is a highly effective, non-destructive slow browsing speed fix windows 11 trick that requires no system reboots.
2. What is a DNS Cache and Why Does It Get Clogged?
Think of the Domain Name System (DNS) as the phonebook of the internet. It translates human-friendly names like google.com into machine-readable IP addresses (like 142.250.190.46).
Your Windows 11 PC uses a system service to cache these matches locally. This prevents your machine from making a trip across the fiber-optic highways to your ISP’s servers for every single image, script, or ad on a webpage.
[Your Browser] ---> [Windows 11 DNS Cache] ---> (If found: Loads site instantly)
                                           ---> (If missing/old: Queries ISP DNS Server)
However, this local database can become “poisoned” or corrupted. Common culprits include:
- VPN Disconnects: Abruptly disconnecting from a corporate network leaves enterprise-level DNS configurations stuck in your system’s TCP/IP stack.
- IP Changes: Websites frequently migrate to new hosting providers or content delivery networks (CDNs).
- ISP Latency: Local DNS servers from providers like Comcast Xfinity or Charter Spectrum can experience outages, feeding stale or broken records to your machine.
When these bad records persist, your browser displays errors like DNS_PROBE_FINISHED_NXDOMAIN or times out completely.
3. Step-by-Step: How to Flush DNS on Windows 11 Using Command Prompt
The classic way to clear out these cobwebs is through the Command Prompt. It takes less than thirty seconds. Follow these steps to execute the windows 11 flush dns cmd command:
Step 1: Open the Command Prompt as Administrator
You cannot flush the system-level resolver cache without elevated privileges.

- Press the Windows Key + S on your keyboard to open the Windows search bar.
- Type cmd or Command Prompt into the search field.
- On the right-hand panel, click Run as administrator. If prompted by User Account Control (UAC), click Yes.
Step 2: Run the Flush Command
Once the black terminal window opens, type the following command exactly as shown, then press Enter:
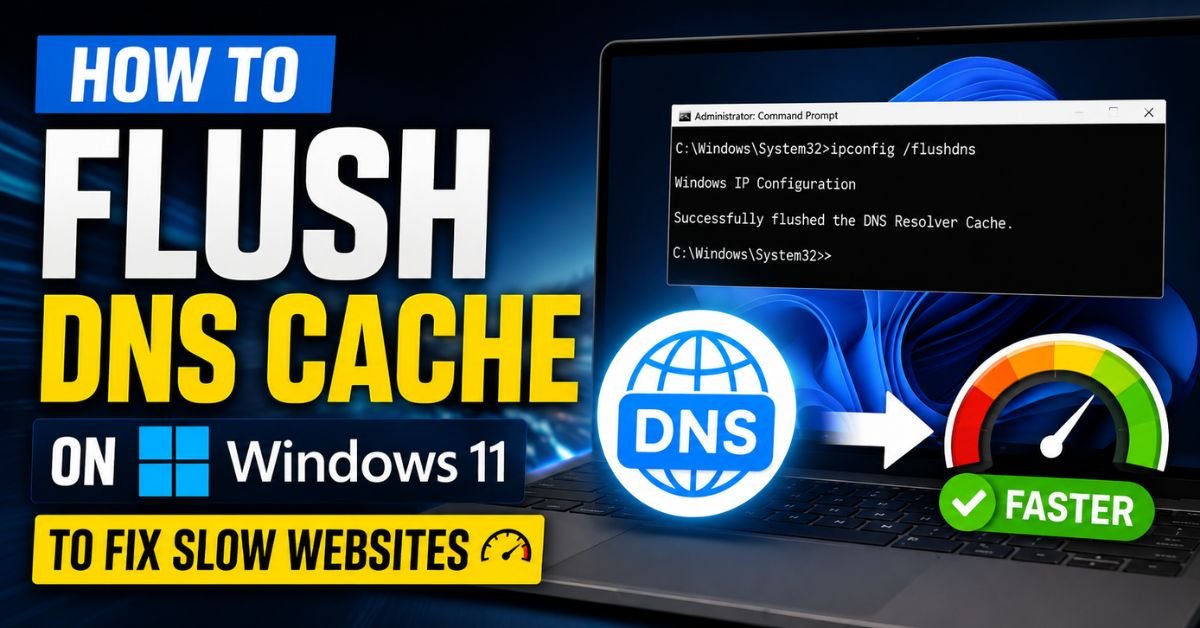
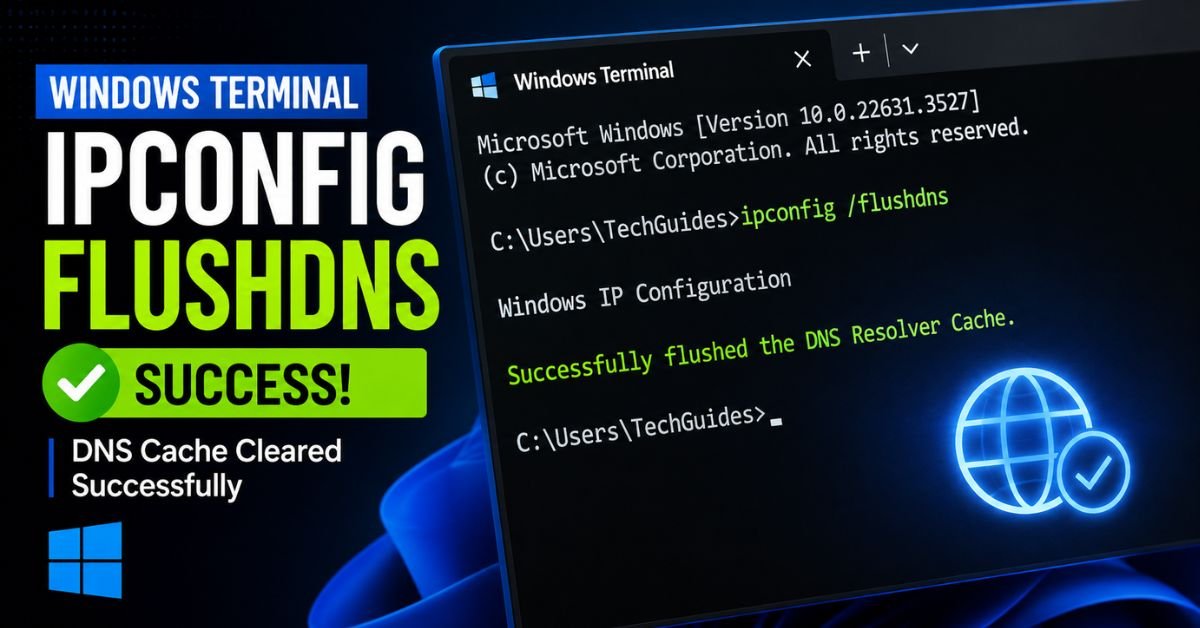
ipconfig /flushdns
Step 3: Verify the Result
If successful, the command window will return the following message:
Windows IP Configuration. Successfully flushed the DNS Resolver Cache.
4. Alternative Methods: Flushing DNS via Windows PowerShell & Run Dialog
If you prefer using modern tools or want a fast shortcut that doesn’t involve navigating search menus, Windows 11 offers a couple of excellent alternatives.
Method A: The PowerShell Command
Windows 11 relies heavily on the modern Windows Terminal and PowerShell environment. If you already have a PowerShell window open, the standard ipconfig command still works, but there is a native cmdlet designed specifically for this task.
- Right-click the Start Menu button and select Terminal (Admin) or Installed PowerShell (Admin).
- Type or paste the following cmdlet and press Enter:
Clear-DnsClientCache
Unlike the Command Prompt, PowerShell will not display a success message; it simply returns you to a fresh command prompt line. Don’t worry—this silence means the operation completed successfully without any errors.
Method B: The Instant Run Box Shortcut
If you want to speed up web loading windows 11 parameters without opening a full console window, you can execute the command directly via the Run dialog box.
- Press Windows Key + R to open the Run window.
- Type
ipconfig /flushdnsinto the box. - Press Enter or click OK.
A command prompt window will flash on your screen for a fraction of a second and immediately close. This is normal behavior; it indicates that Windows executed the command in the background and wiped the cache clean.
5. Real-World Troubleshooting: Clearing Browser-Specific DNS Caches
Here is an insider secret that many generic tech guides miss: flushing your Windows DNS cache sometimes isn’t enough.
Modern browsers like Google Chrome, Microsoft Edge, and Mozilla Firefox maintain their own separate, internal DNS caches to shave milliseconds off loading times. If you flush Windows but your browser is still pulling from its own internal vault, you will still experience slow speeds.
How to Clear DNS Cache in Google Chrome & Microsoft Edge
Because Edge is built on the same Chromium architecture as Chrome, these steps are nearly identical:
- Open a new tab in Chrome or Edge.
- Paste one of the following paths into your URL address bar and press Enter:
- For Chrome:
chrome://net-internals/#dns - For Edge:
edge://net-internals/#dns
- For Chrome:
- Click the clear button labeled Clear host cache.
+---------------------------------------------------------+
| Chrome Net-Internals                                    |
+---------------------------------------------------------+
| DNS                                                     |
| Host resolver cache: [ Clear host cache ] <--- Click!  |
+---------------------------------------------------------+
How to Clear DNS Cache in Mozilla Firefox
- Open Firefox and type
about:configinto the address bar. Press Enter. - Accept the warning prompt to proceed.
- In the search box at the top of the screen, type
network.dnsCacheExpiration. - Click the pencil/edit icon next to the value and change it to 0, then click the checkmark to save.
- Change it back to its default value (usually 60) afterward so Firefox can resume normal caching behavior.
6. Common Pitfalls & Error Fixes When Flushing DNS
Sometimes, technology refuses to cooperate. If you ran into issues trying to apply these solutions, here is how to troubleshoot the most common headaches.
Fix: “Could not flush the DNS Resolver Cache: Function failed during execution”
This frustrating error usually pops up if the core Windows DNS Client service has been disabled or has locked up. You can resolve this by restarting the service manually.
- Press Windows Key + R, type services.msc, and press Enter.
- Scroll down the list until you find the DNS Client service.
- If the service is stopped, right-click it and select Start or Restart.
- If the options are grayed out (which can happen on Windows 11 due to system locks), open Command Prompt as Administrator and run:
netsh int ip resetThis will completely reset your computer’s TCP/IP stack. Restart your machine afterward.
💡 Expert Insight: If you see an “Access Denied” error when running commands, you missed a step. Always verify that the top-left title bar of your terminal says “Administrator: Command Prompt” or “Administrator: Windows PowerShell”.
7. Advanced Tips: Switching to Faster Public DNS Servers
While learning how to flush dns windows 11 clears immediate blockages, it doesn’t solve a fundamental problem: default US ISP DNS servers (like those run by Comcast Xfinity or Charter Spectrum) can be sluggish, outdated, and prone to routing bottlenecks.
To permanently solve dns_probe_finished_nxdomain windows 11 fix issues and secure faster web loading, I highly recommend bypassing your ISP’s DNS servers entirely. Instead, use premium, ultra-fast public DNS services provided by Cloudflare or Google.
| DNS Provider | Primary IPv4 | Secondary IPv4 | Key Advantage | | :— | :— | :— | :— | | Cloudflare | 1.1.1.1 | 1.0.0.1 | Fastest response times, excellent privacy | | Google Public DNS | 8.8.8.8 | 8.8.4.4 | Incredible reliability, massive global reach |
How to Change Your DNS on Windows 11:
- Open Settings (Windows Key + I) and navigate to Network & internet.
- Click on your active connection type (either Wi-Fi or Ethernet).
- Scroll down and click on DNS server assignment, then click Edit.
- Change the setting from Automatic (DHCP) to Manual.
- Toggle the IPv4 switch to On.
- Enter
1.1.1.1in the Preferred DNS box, and1.0.0.1in the Alternate DNS box. - Click Save.
Frequently Asked Questions
Will flushing my DNS delete my internet search history?
No. Flushing your DNS resolver cache does not touch your browser’s history, saved passwords, cookies, or auto-fill forms. It only wipes the temporary list of numerical IP addresses mapped to website domain names that Windows keeps in the background.
Why does my DNS cache keep getting corrupted on Windows 11?
Frequent cache corruption is usually caused by active VPN software routing traffic through different server nodes, third-party security suites and antivirus programs intercepting network packets, or micro-outages from your local broadband provider.
Is there a way to automate this process?
Yes! If you find yourself needing to flush your DNS constantly, you can create a custom shortcut. Right-click on your desktop, select New > Shortcut, and paste the following path into the box: cmd.exe /c ipconfig /flushdns
Name it “Flush DNS” and save it. Now, you can double-click this shortcut whenever your web connection starts to feel sluggish.
Does flushing the DNS fix latency in online gaming?
It can help if the game launcher or game servers have recently shifted locations, but it will not reduce your physical ping. If you are experiencing packet loss or high ping in games, look into updating your network adapter drivers or switching to a wired Ethernet connection.